A free template in your inbox.
Sign up and get our current free template right away. And if it's not your thing? No hard feelings, unsubscribe anytime.
Your first project WITH US.
A proper one.
And yes, you'll nail it.
Ready to actually make something?
Stackable Candle Trays, air-dry or kiln-fired.
your call!
You'll make a set of stackable trays with raised edges — elegant, minimal, and genuinely useful. Add the candle ring to one, both, or neither. Stack them, gift them, keep them.
Along the way you'll learn two foundational handbuilding techniques:
Forming raised edges from a slab
Score and slip for attaching pieces
The kind of skills you'll use in almost every project after this.
Works with air dry clay or kiln fired — so you can start right now, whatever your setup.
In case you have never touched clay in your life: We’ve got you covered. You’ll get access to three of our Studio Stream vids:
How we prep our templates
How we roll our clay
How we cut our clay shapes
Leave us your email and we'll send you the template and the full video walkthrough — exactly what you get with every project in our shop. But this time, it’s totally free.

We’ve got you covered all the way. Promise!
the beginner mini video course
Three videos.
7:09 minutes.
You’ll learn everything you need to get started with clay. Included with our free template.
*Unsubscribe any time. We don't do guilt trips here!
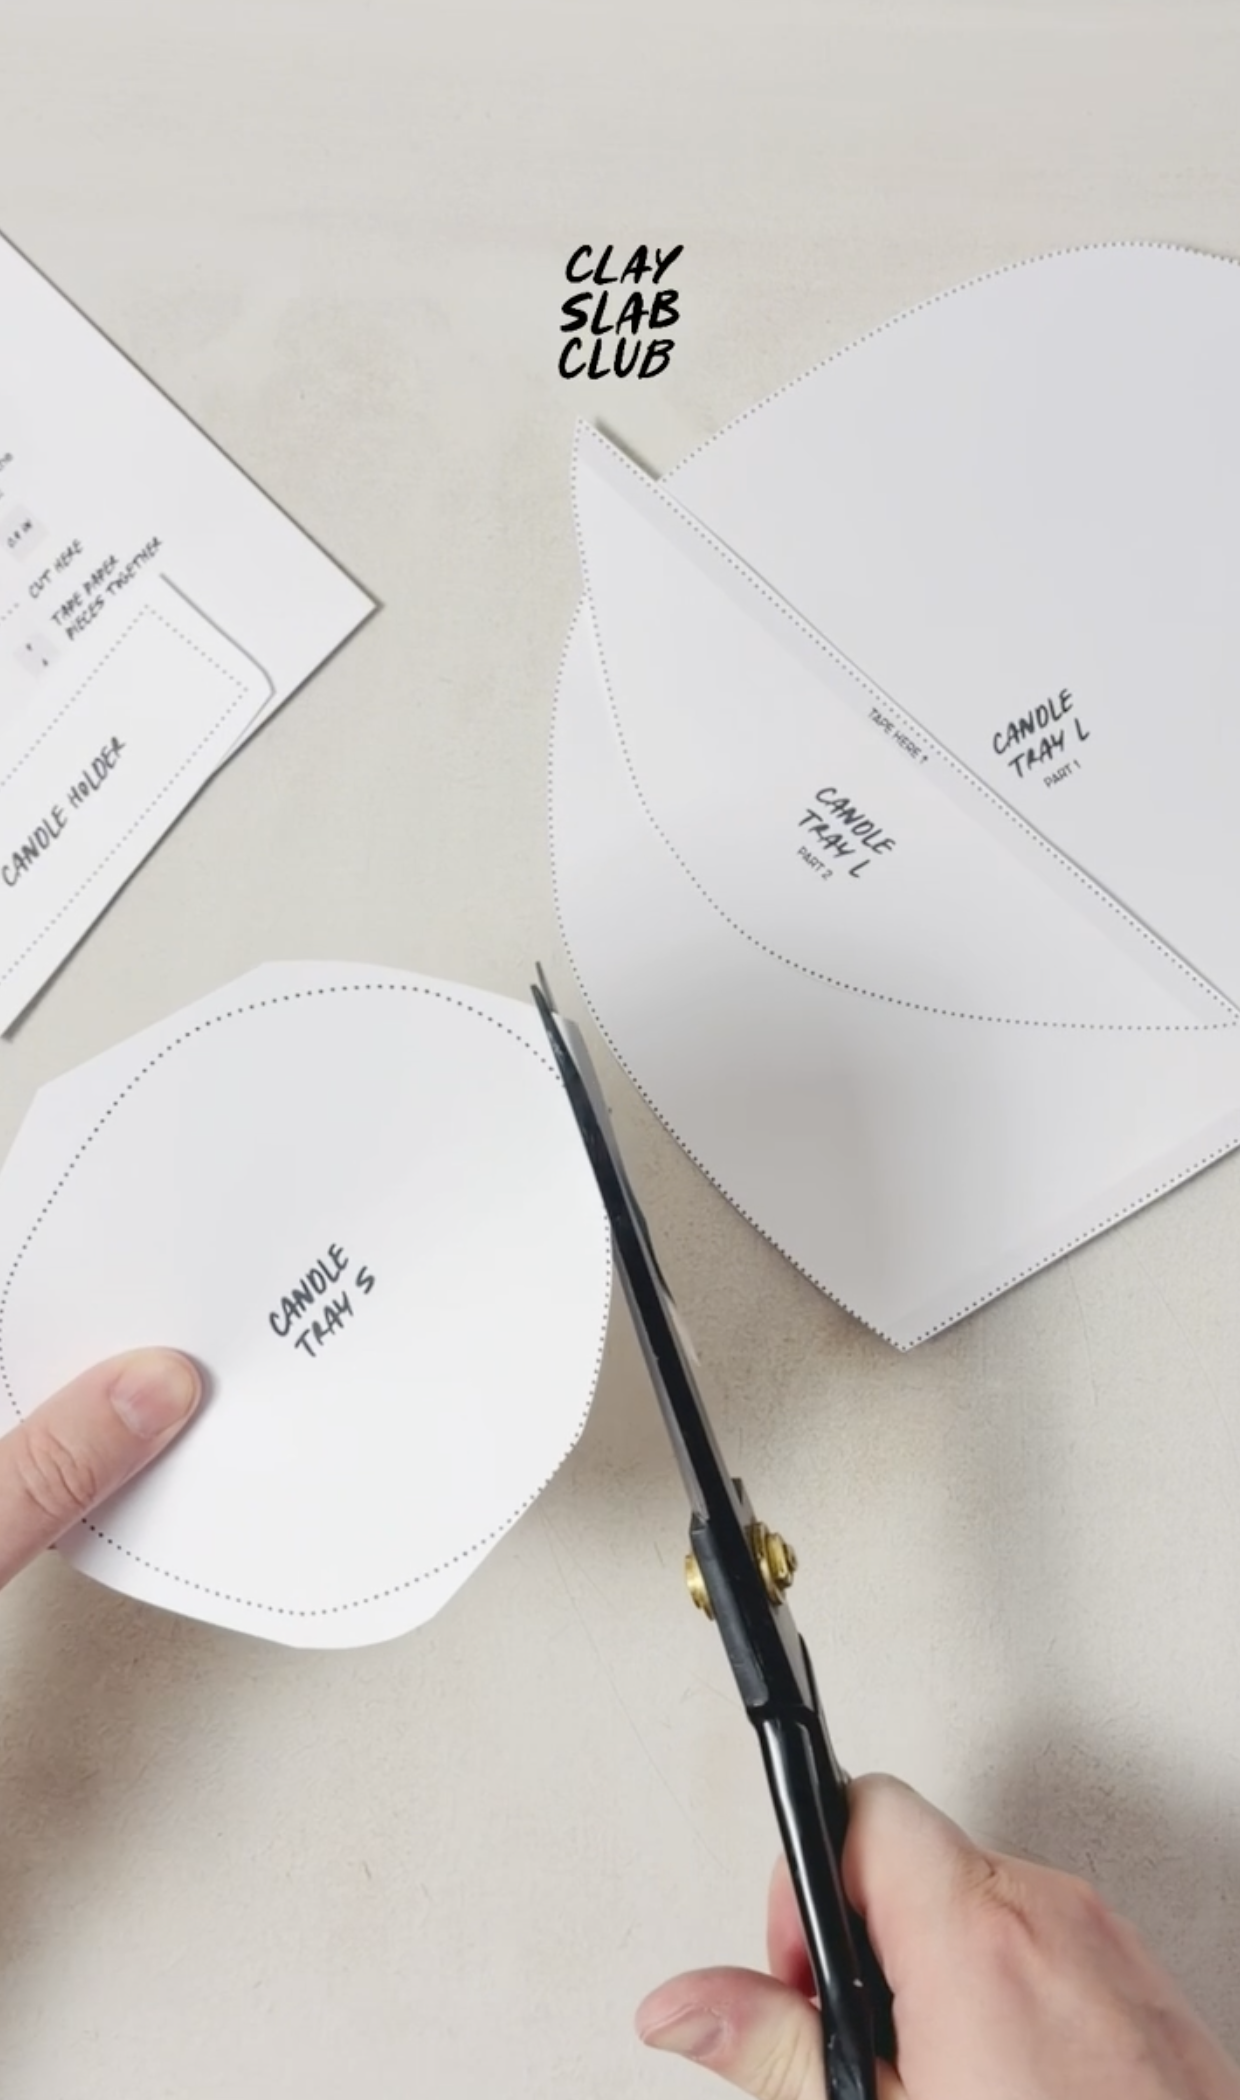
How we prep our templates
Here's how we cut out all the shapes and tape them together to make the template. Satisfying, really.
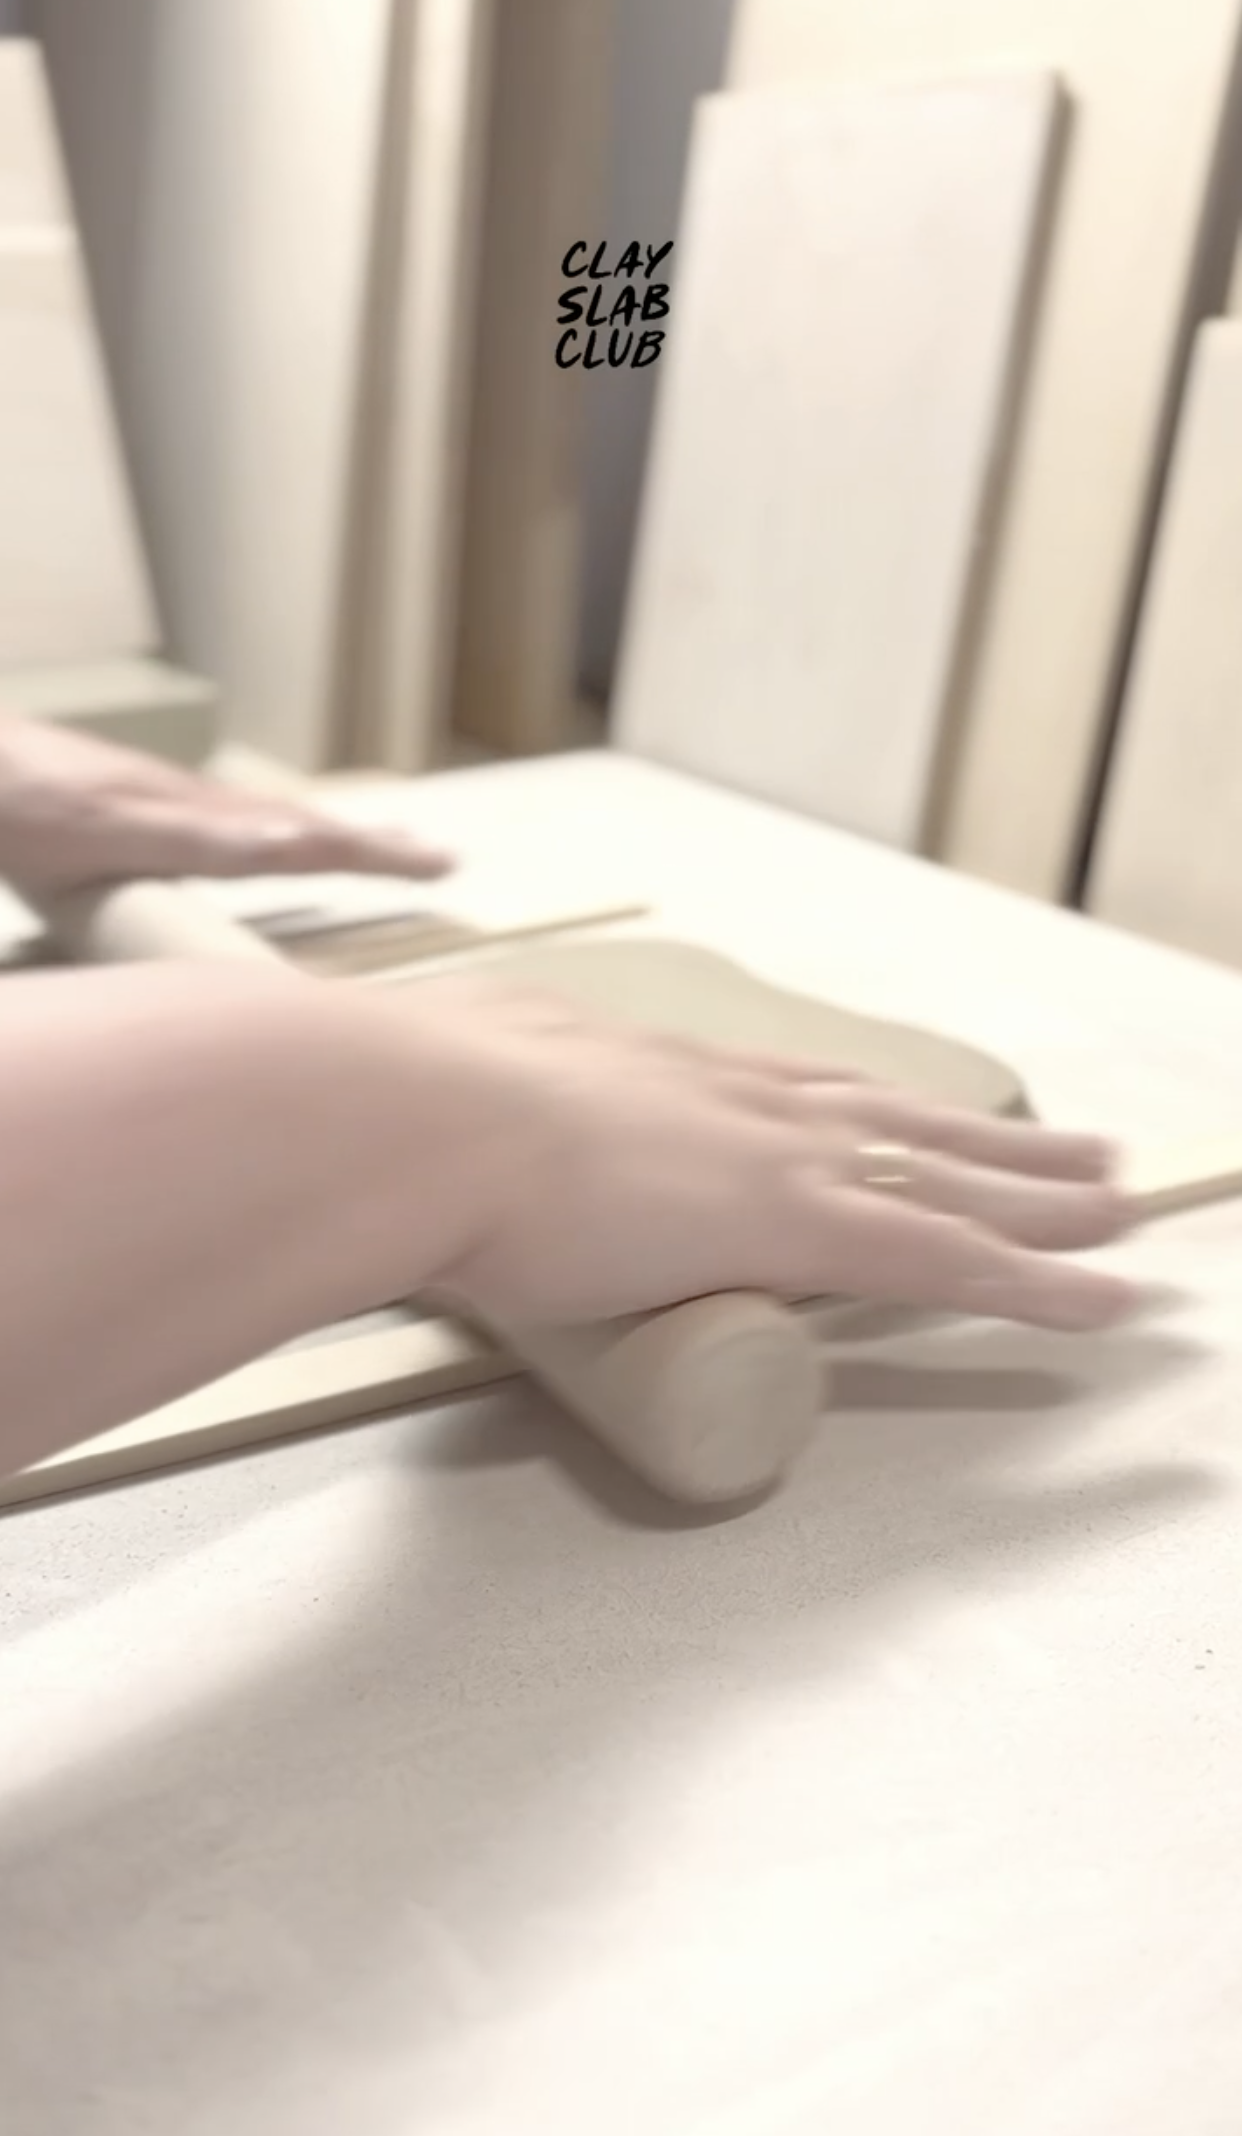
How We Prep & Roll Our Clay
No slab without the roll. Here's how we do it: cut, roll, finish with a compress. Let's get into it.
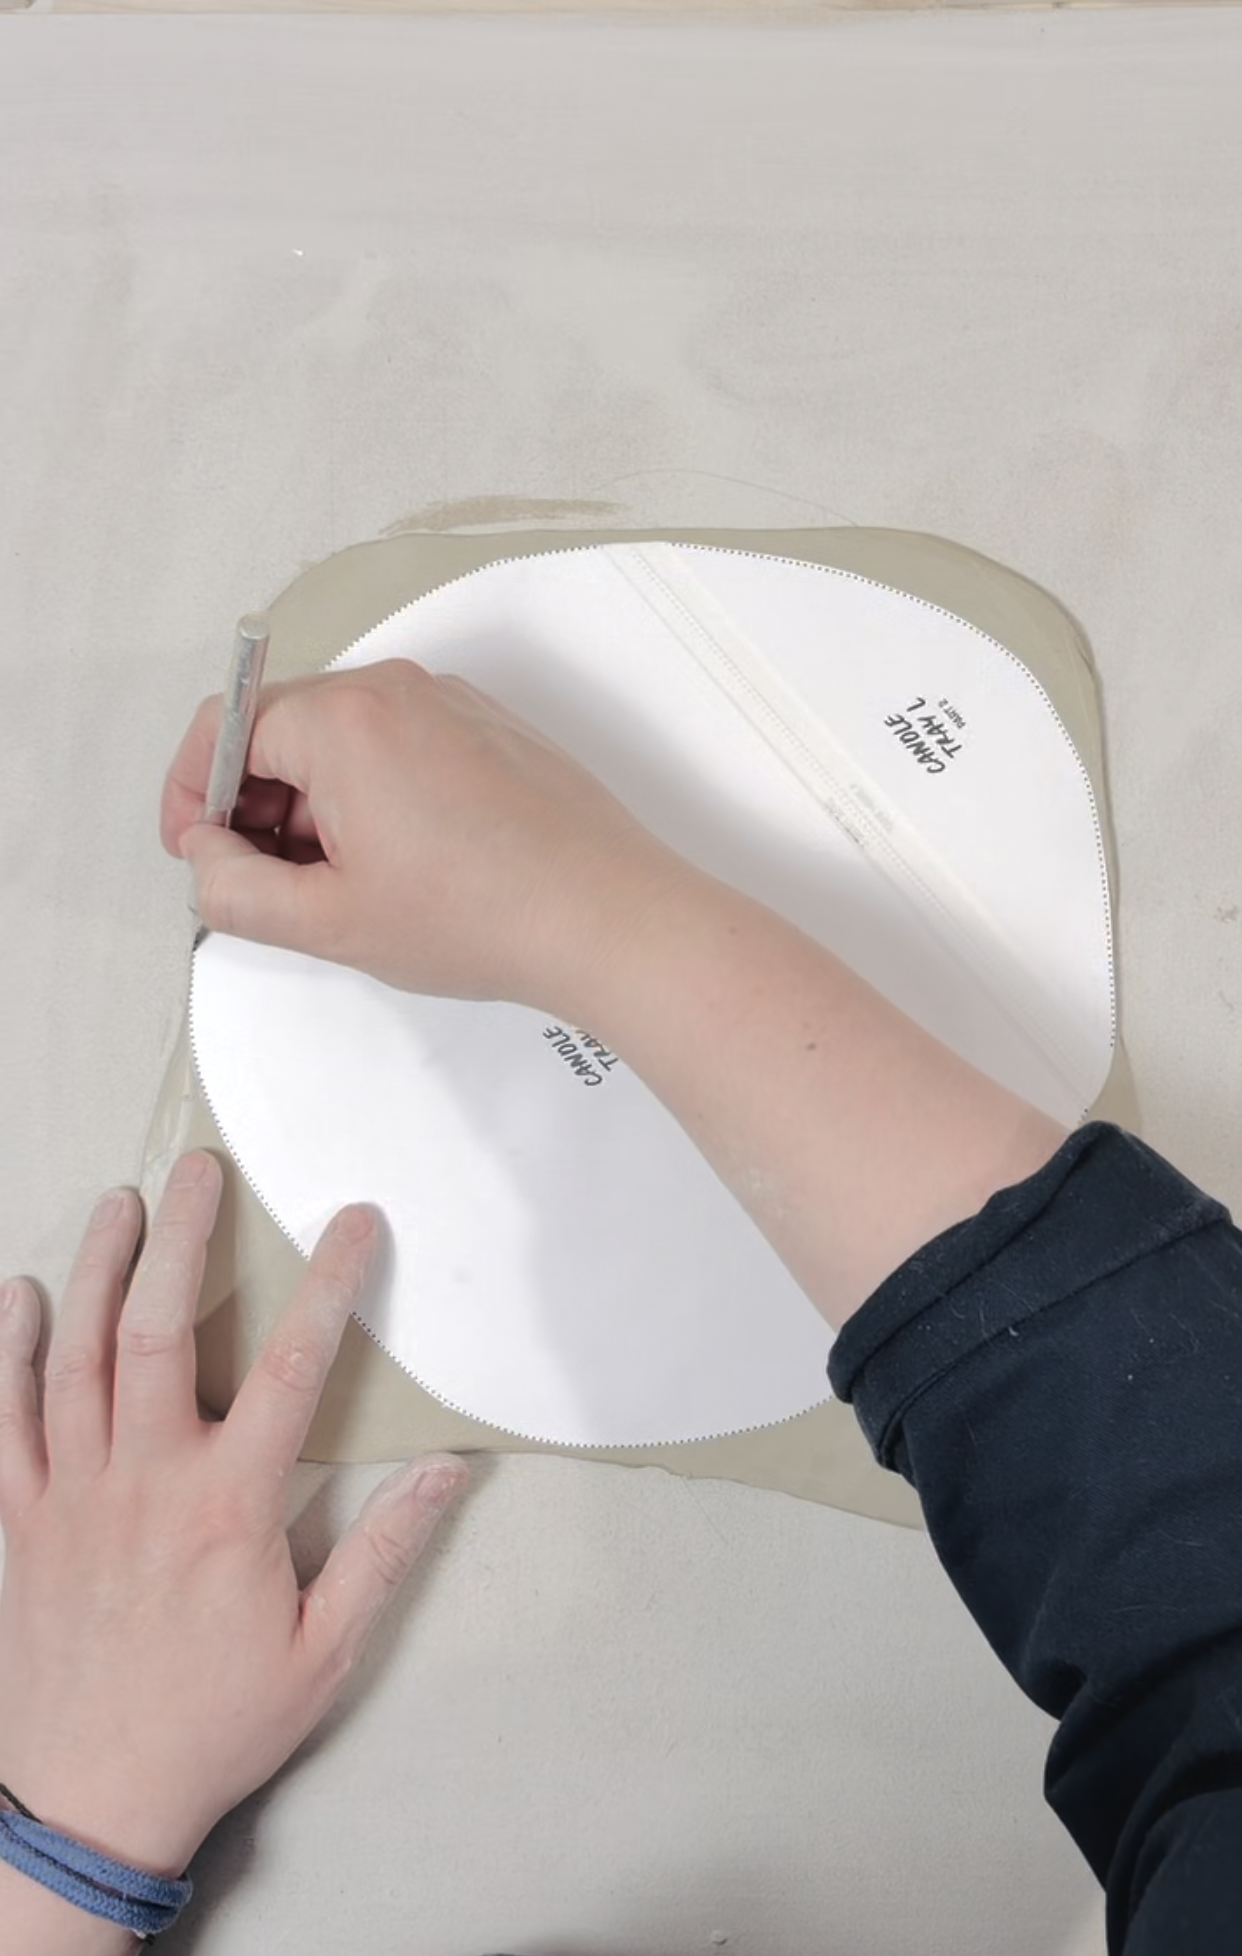
How We Cut Our Clay Shapes
This is where paper meets clay. Place your shapes. Position them right. Cut cleanly around them. That's the move.