
Tools and materials list
The Home Studio Tool Kit
(Complete Version)
Step 1
Preparing your template
◾️
Printer
Any home printer works for printing out the template.
No printer at home?
Any copy shop will print your templates for a few cents per page.
◾️
Paper
Standard 80 gsm (20 lb) copy paper does the job.
If your printer handles it, 120 or 160 gsm (32 lb or 60 lb cover) is even better: sturdier to cut around and easier to reuse.
◾️
Ruler
Optional, but handy for checking the reference boxes on the template. Especially if you’re not sure you printed it at 100% scale.
◾️
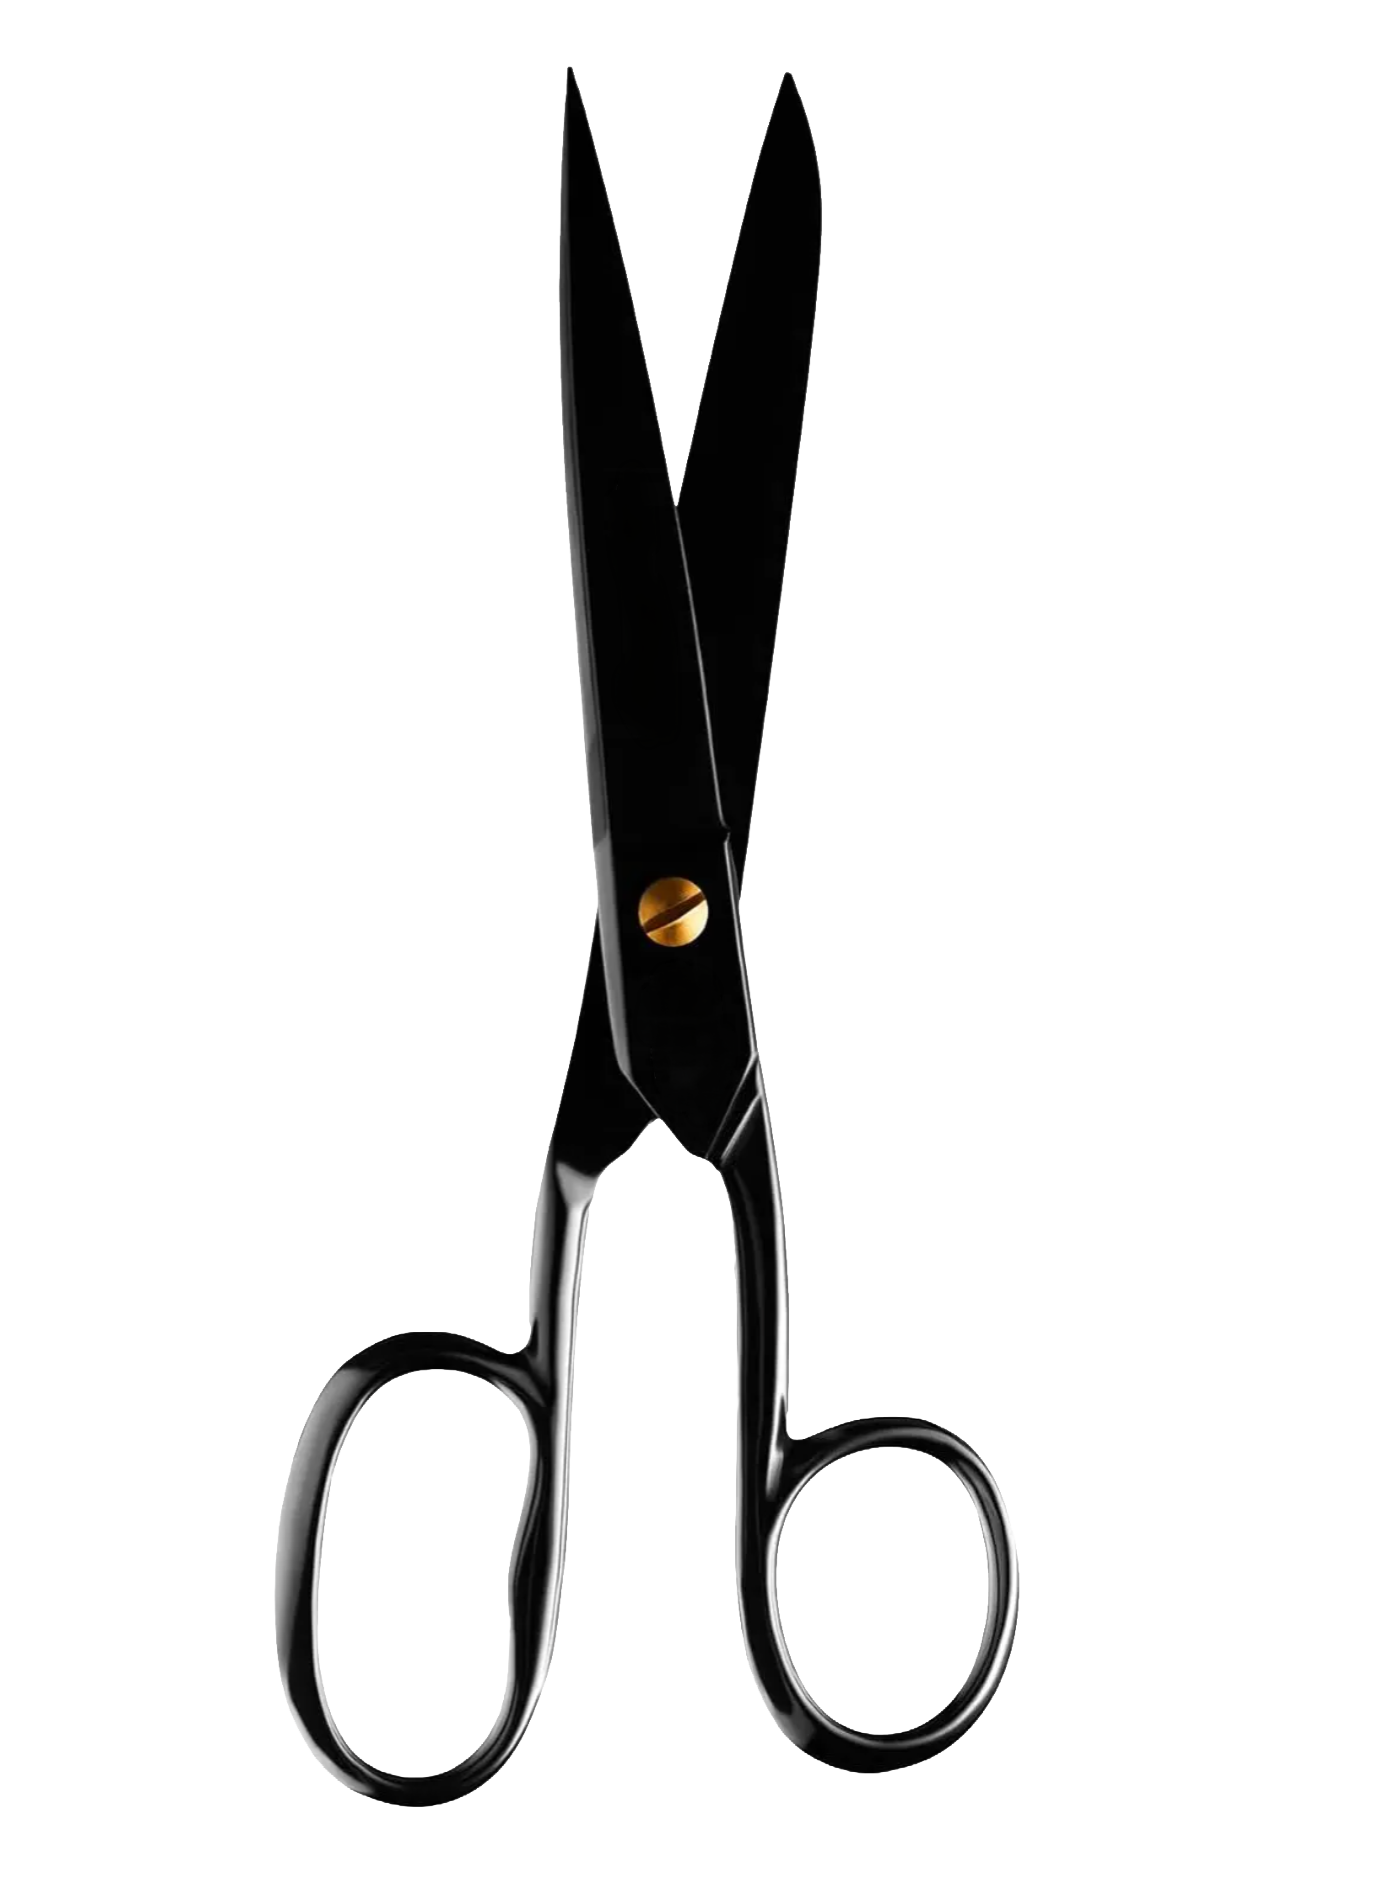
Scissors
The ones you have at home are fine. As long as they can cut paper, you’re golden. If you have one, a craft knife and a cutting mat help with the curved shapes.
◾️
Tape
Regular adhesive tape (like Scotch tape) or washi tape is fine to join the template pieces where indicated.
Step 2
Rolling out your clay
◾️
Clay
For kiln-fired pieces, look for stoneware. If you’re just starting out, pick one with 20 to 40% fine grog (0–0.2 mm). It makes your clay sturdier and less likely to warp or crack, which is exactly what slabs sometimes need.
Check the firing temperature before you buy. There are low-fire and high-fire clays, and the temperature decides which kiln can fire your piece (important if you use a firing service) and which glazes you can use. The packaging also tells you at which temperature your clay vitrifies. In short: from there on, your fired piece is dense enough to use as tableware and can go into the dishwasher.
Where to buy: your local pottery supplier, a good art supply store or online
Price: about 14 € for a 10 kg (22 lb) bag
◾️
WOODEN GUIDES
Two sticks on either side of your clay, rolling pin on top, and every slab comes out the same thickness. Even slabs dry evenly and crack less.
Get a square pine strip at the hardware store, about 100 × 0.6 × 0.6 cm (40 × ¼ × ¼"), and ask them to cut it in half. 0.6 cm (¼") works for most of our templates.
Some need a slightly thicker slab of 0.8 cm (5⁄16"), so grab that size too if they have it.
Ready-made sets in different thicknesses are also available online, but they cost a bit more.
Where to buy: hardware store, or Amazon (search ‘pottery rolling guides’)
Price: about 1.50 € for a pine strip, or about 15 € for a set
◾️
Air-Dry Clay
Not everything sold as air-dry clay is actually clay. A lot of it is modelling compound. Some products also contain preservatives that can irritate your skin. What you want is real clay that you simply let dry instead of firing it. Some clay brands offer an air-dry version of their clay; that’s the best you can buy.
Always check the packaging: A firing range or a cone number means it’s real clay. No firing info or a ‘do not fire’ warning means it’s modelling compound. A short ingredient list is a good sign too.
Search for ‘pottery clay’ or air-dry clay that can also be kiln-fired. If you get access to a kiln later, you can fire the same clay.
Where to buy: your local pottery supplier or online
Price: about 10 € for a 5 kg (11 lb) bag
◾️
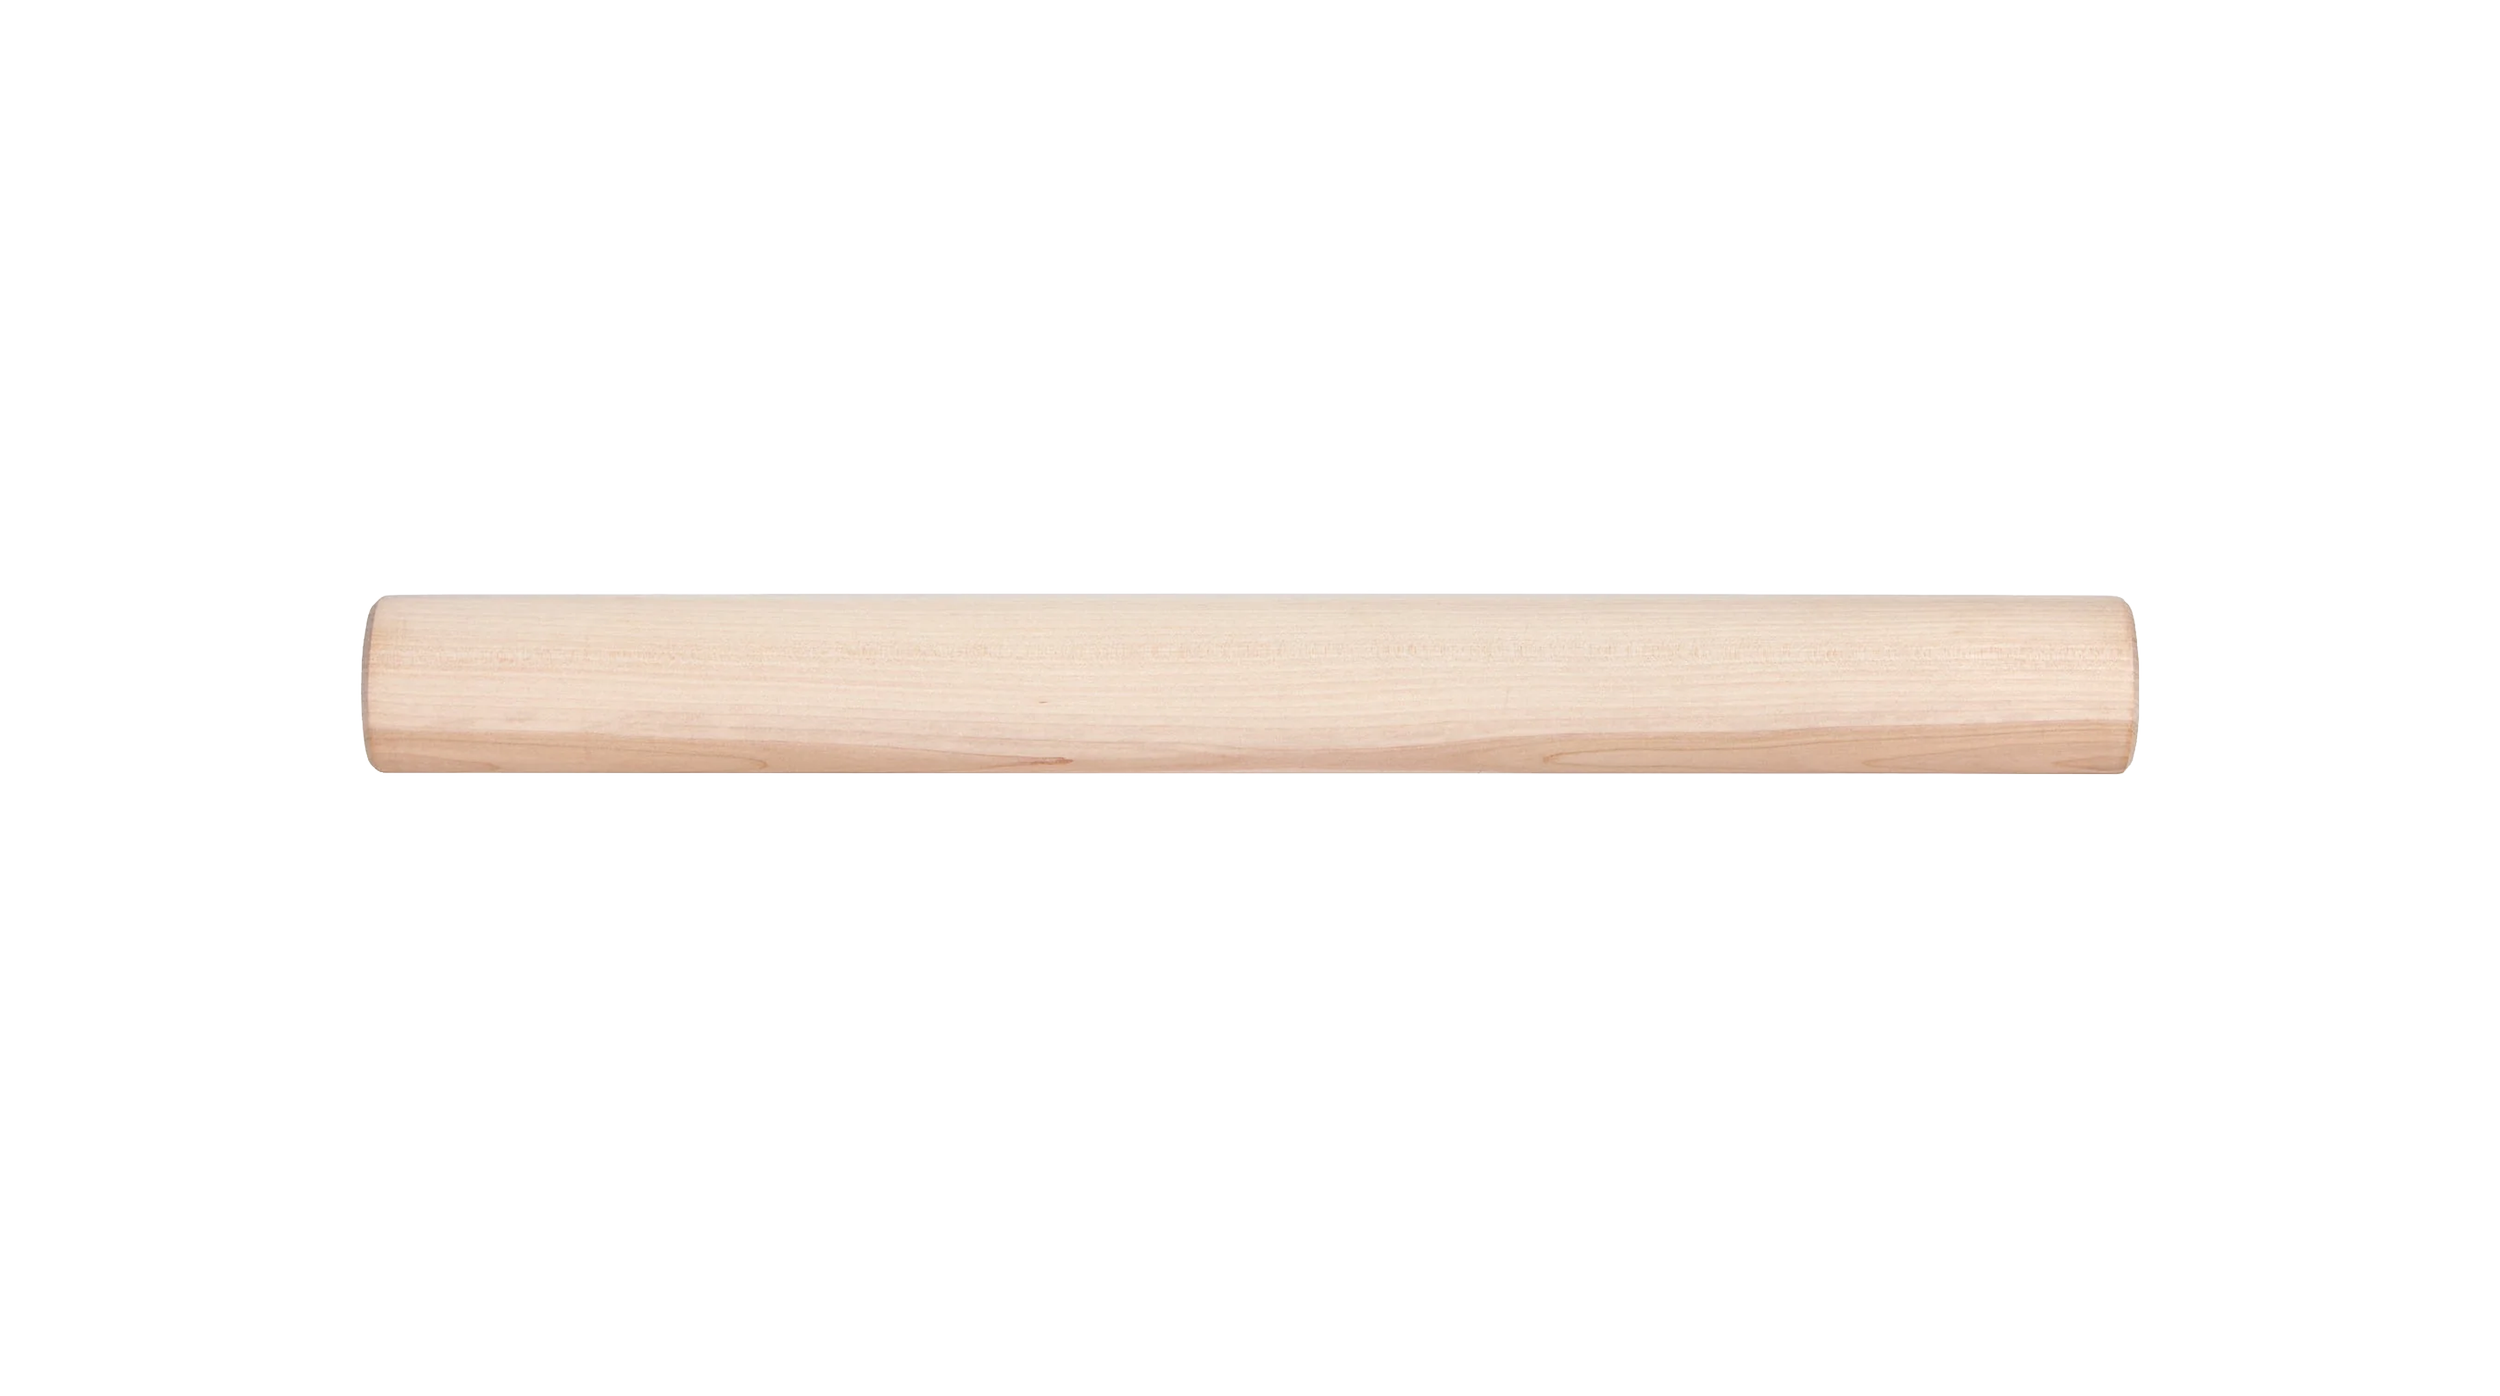
Rolling Pin
Go for a straight wooden one, around 40 cm (16") long. Skip the tapered kind with handles because you need even pressure across the full length.
Once it’s touched clay, it’s a pottery tool. Get a new one for the kitchen.
Where to buy: kitchen supply or homeware stores, or online
Price: 8 to 15 €
Alternatives: a large, smooth glass bottle
◾️
WORK BOARD
Your rolling, building and drying surface.
Raw, unsealed wood soaks up a little moisture, so your clay doesn’t stick, and you can move your piece without touching it.
Around 50 × 70 cm (20 × 28"), 18 mm (¾") thick, MDF or plywood. Don’t varnish it.
Where to buy: any hardware store, they’ll cut it to size for you
Price: about 10 €
Alternatives: a large wooden kitchen board or a piece of canvas
◾️
Rib Tool
Run a rib over your slab after rolling and it smooths the surface, removes rolling marks and compresses the clay. Compressed clay is stronger and less likely to crack or warp while it dries. The firmer rubber or silicone ribs are our favourite, but metal ribs work great too.
Where to buy: your local pottery supplier, a good art supply store or online
Price: about 4 € per rib
Alternatives: an old credit card or a plastic bowl scraper
Step 3
Cutting out and preparing your clay shapes
◾️
Knife
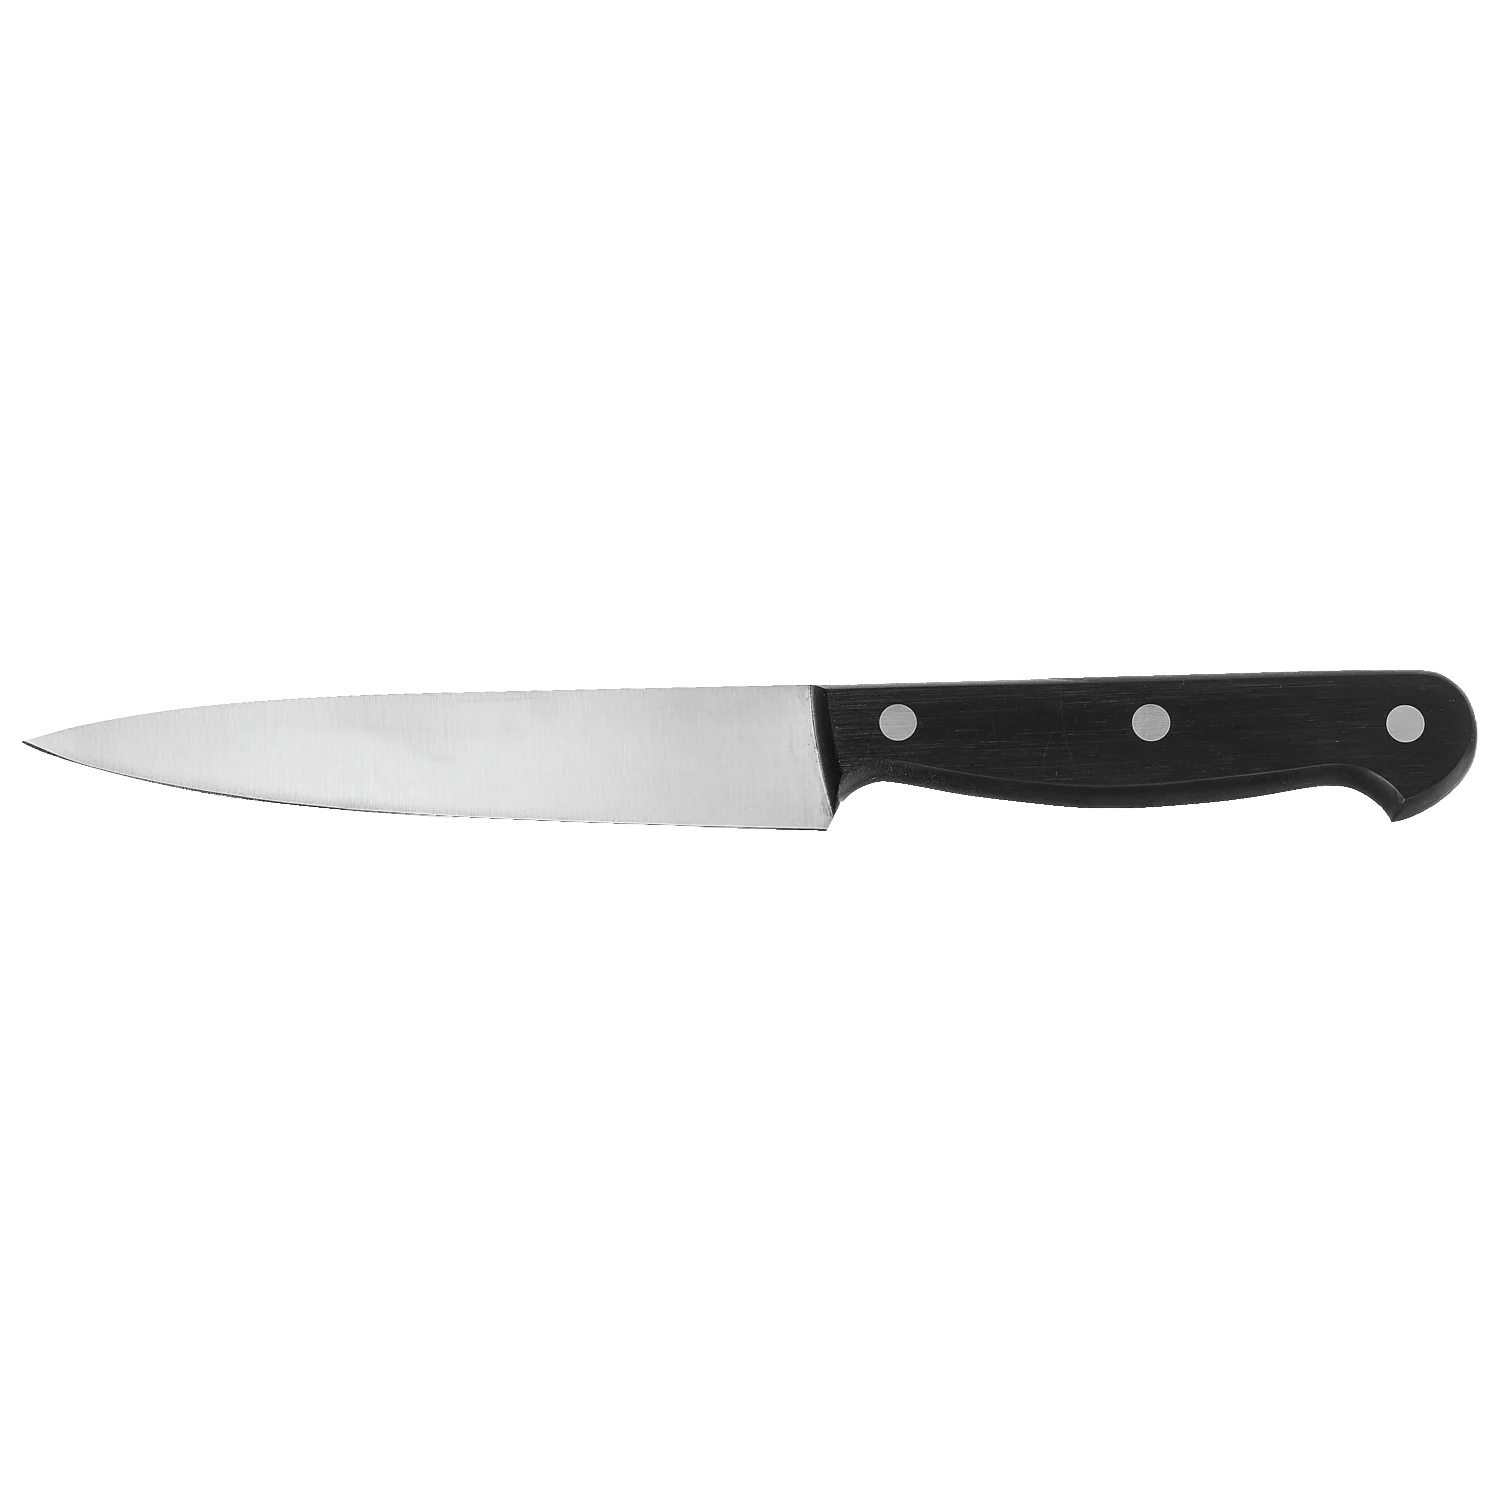
A small, sharp kitchen knife does the job. Pull it through the clay in one smooth stroke instead of sawing, so your edges stay clean. Straight-bladed and not too flexible works best for clean cuts.
A proper pottery knife is a good investment: you’ll use it not just for cutting out your shapes, but also for cleaning up edges and carving into leather-hard clay.
Where to buy: your kitchen drawer, your local pottery supplier or online
Price: free, or about 10 € for a pottery knife
◾️
Sponge
A slightly damp sponge smooths your cut edges and softens sharp corners. Squeeze it out well: too much water makes your clay soft and sticky. Any new kitchen sponge works, as long as it has never seen dish soap and has a nice, smooth surface. Cut large ones into smaller pieces to get into tight corners. If you’re buying, get a multipack. You’ll go through a lot of them.
Where to buy: your local supermarket, online, or a pottery supplier for a fine pottery sponge
Price: about 1 € for a kitchen sponge, 3 to 6 € for a pottery sponge
◾️
ANGLE TOOL
Cuts your slab edges at a 45° angle, so two pieces meet cleanly at the corner instead of overlapping.
The angled edges also give you more surface to join, which makes your seams stronger.
Pull it along the edge in one steady stroke.
Where to buy: your local pottery supplier or online (search ‘pottery bevel cutter’)
Price: about 12 €
Alternatives: your knife, held at a 45° angle, using your ruler as a guide. Takes a little practice, but works.
◾️
small bowl
Any bowl you find at home.
Where to buy: your kitchen cupboard
Price: free
Alternatives: an old jar or a yoghurt pot
Step 4
Building your piece
◾️
Scoring Tool
Before you join two pieces, scratch a crosshatch pattern into both edges. The rough surface gives the slip something to grip, so your seams hold and don’t crack open while drying. You can get a scoring tool with stiff bristles or a metal rib with a serrated edge. Both work well.
Where to buy: your local pottery supplier or online
Price: about 4 €
Alternatives: a small fork or an old toothbrush
◾️
WOODEN MODELLING TOOLS
Optional
Our favourite is a bevelled modelling tool: flat, with a long angled edge.
It’s perfect for smoothing joins, cleaning up seams and getting into tight corners.
A round-ended paddle (one large end, one small) helps you shape walls from the inside. They make the job easier, but you can do all of this with your fingers too.
Where to buy: your local pottery supplier or online
Price: about 2 € each
◾️
BRUSH
For dabbing slip onto your scored edges and smoothing your seams afterwards. A cheap kids' school brush works perfectly.
Where to buy: any art supply store or supermarket
Price: about 2 to 5 €
◾️
CIRCLE CUTTERS
Optional
A set of round stainless steel cutters in different sizes cuts clean circles into your clay: drainage holes, decorative details or round pieces.
Standard cookie cutter sets (2 to 12 cm / ¾ to 4¾") work perfectly, no special pottery tool needed.
Where to buy: any kitchen shop, supermarket or online
Price: about 11 € for a set of 6
Alternatives: an upturned glass, or a drinking straw for small holes
◾️
small Turntable
Optional
Lets you turn your piece while you build, so you can reach every side without picking it up.
Especially handy once your projects get taller or more detailed.
We love the small MDF ones, as they’re cheap and do the job for most projects. Metal ones are great if you want to invest a little more.
Where to buy: your local pottery supplier or online
Price: about 14 € for an MDF turntable, more for a metal banding wheel
Step 5
Drying your piece
◾️
PLASTIC BAGS
No shopping needed here, raid your kitchen drawers.
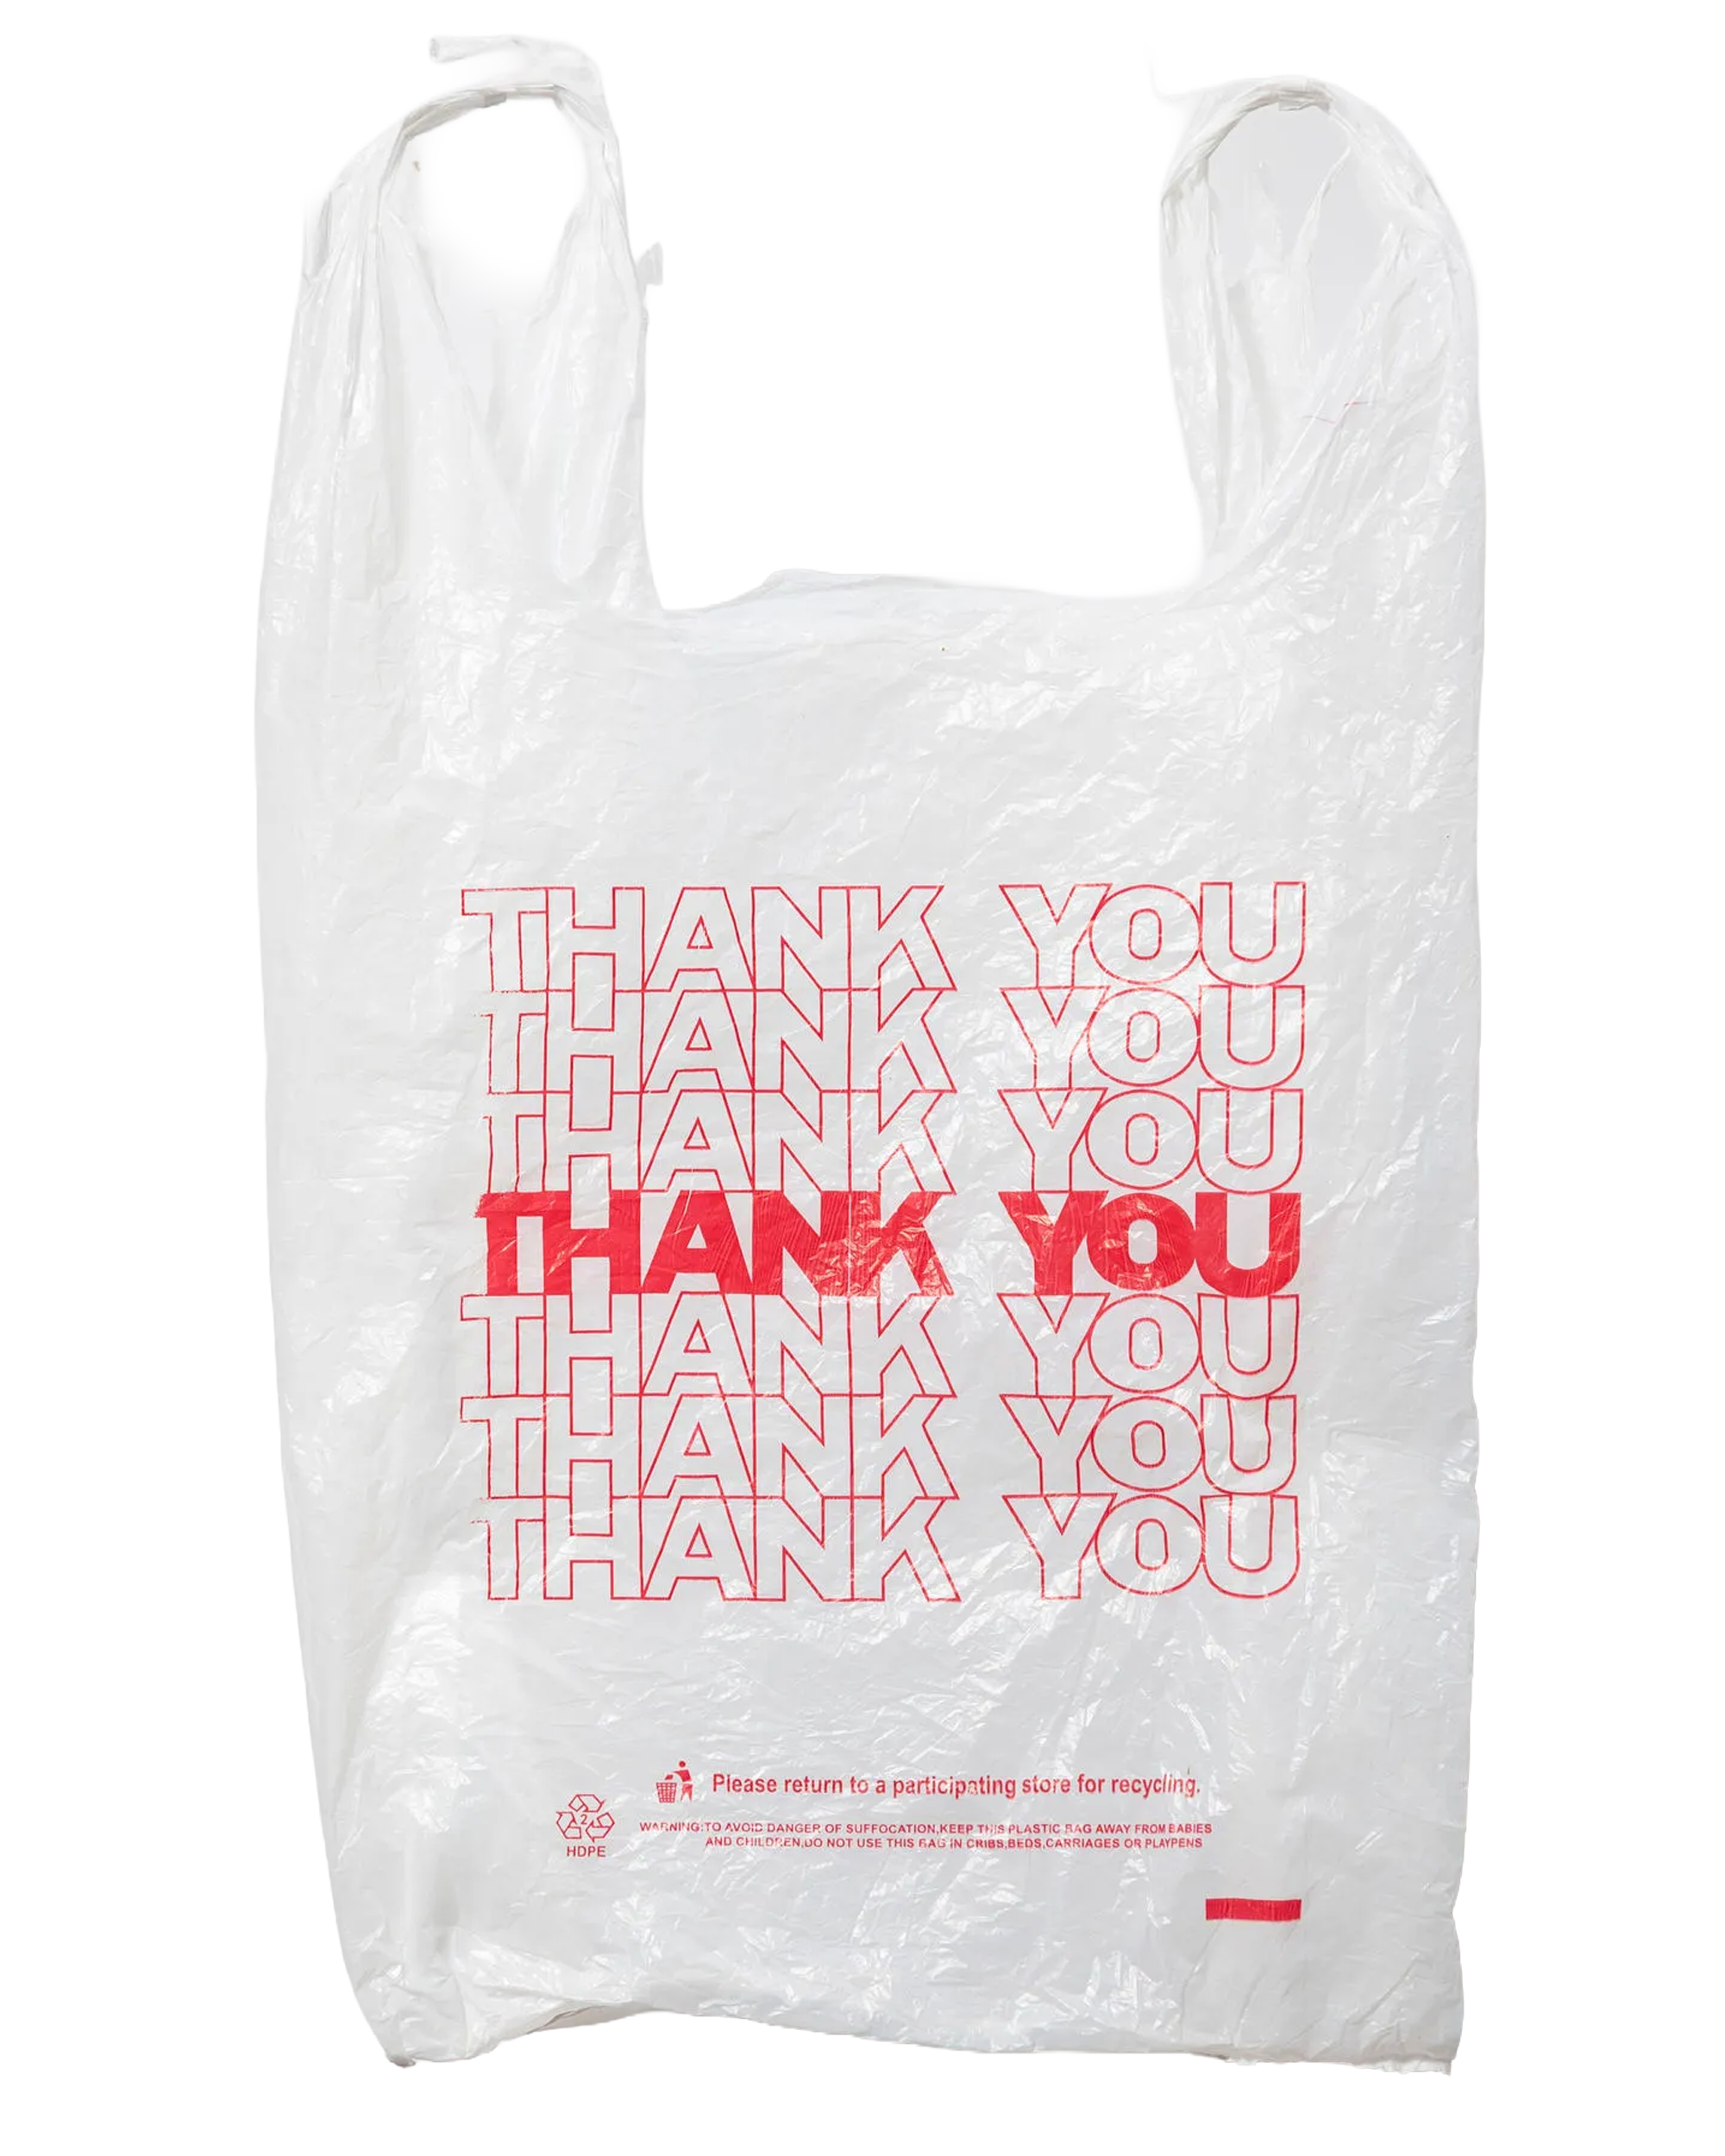
Old plastic bags (carrier bags, freezer bags or bin liners) loosely cover your pieces while they dry, so the drying stays slow and even.
Uncover your piece a little more each day (ooh!). For smaller pieces like mugs, cups and bowls, disposable shower caps are perfect.
Where to buy: your kitchen drawer, or online for disposable shower caps
Price: free, or about 5 € for 100 shower caps
◾️
Small Wooden Boards
Thin plywood boards, about 5 mm (3⁄16") thick, are our everyday helpers.
We put every piece on one, so we can move it, turn it and set it aside to dry without touching the clay.
Get them in a few sizes, A5, A4 and A3 (roughly 6 × 8", 8 × 12" and 12 × 17"), and you’re covered for most projects.
Where to buy: the craft wood section of your hardware store, or online (search ‘plywood sheets for laser cutting’)
Price: about 5 € for a pack of 5
Alternatives: old wooden chopping boards or sturdy cardboard
◾️
FIRING SERVICE
No kiln at home? You’re not alone! Local pottery studios and makerspaces fire your pieces for you, usually charged by weight.
Ask which temperature they fire at before you buy your clay, and whether they do both bisque and glaze firings.
Where to find one: local pottery studios and makerspaces, or search ‘firing service’ plus your city
Price: around 4 € per kg per firing
◾️
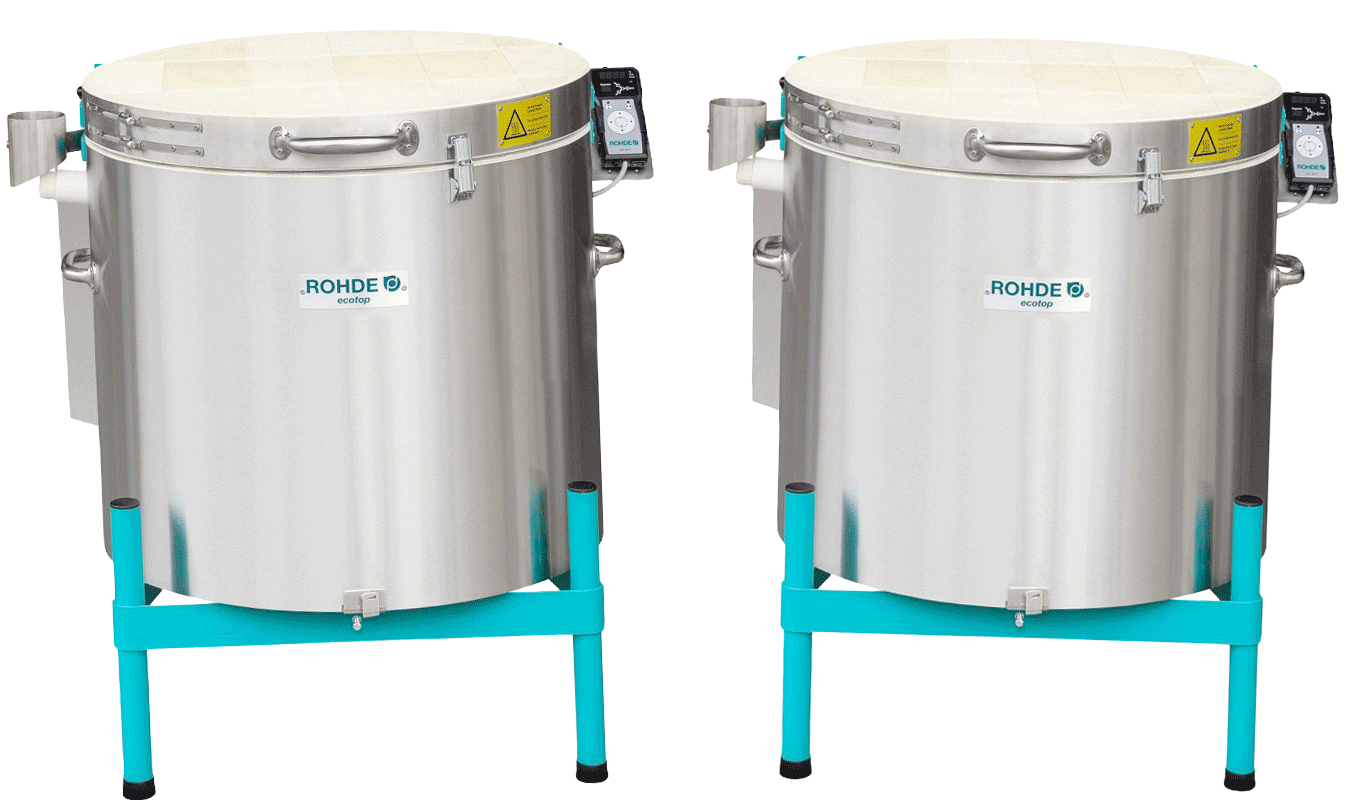
KILN
Optional, obviously
A small electric top loader is the classic home kiln.
Around 45 to 60 litres is plenty for slab projects. Depending on the model, some run on a regular household connection, while bigger ones need a heavy-duty power supply.
Never use an extension cord, and have an electrician check your connection before the kiln arrives. Give it a well-ventilated spot with some space to the walls.
Where to buy: your local pottery supplier, directly from the manufacturer, or second-hand
Price: a few hundred euros used, around 2,500 € new for a 45-litre top loader
Step 7
Coloring (air-dry projects)
◾️
Primer
optional
A primer seals the surface of your finished air-dry piece, keeps the colour from soaking in unevenly and gives you a smooth, bright base, so your colours look vibrant and true. Brush a thin layer onto the front and back of your piece. Any brand works. Look for white gesso, that’s the standard.
Where to buy: any craft store or online
Price: about 5 €
◾️
ACRYLIC PAINT
The go-to for decorating air-dry clay. It sticks well, dries quickly and comes in every colour imaginable.
Get three or four colours you really love. Our favourites are Amsterdam Standard Series and Lukas Cryl Studio.*
Mix your own shades or use it straight out of the tube. Paint in thin layers, two or three coats will do.
Where to buy: any craft store or online
Price: about 7 € per tube
◾️
SEALANT
The finishing touch that protects your piece and gives it a lasting surface.
We love an acrylic spray sealant: it dries quickly and gives a super glossy, even finish. Do the spraying outside, though.
A brush-on acrylic varnish works just as well. Look for water-based, low-odour formulas and skip anything toxic or epoxy-based. You’d need a whole safety setup to work with that at home.
Where to buy: any craft store or online
Price: about 6 €
◾️
PAINT BRUSHES
Synthetic flat brushes with short, fine bristles glide smoothly over the clay and don’t leave streaks.
A small set in a few sizes covers everything from base coats to fine details.
Where to buy: any craft or art supply store, or online
Price: about 10 € for a set
Step 7
glazing (kiln-fired projects)
◾️
PAINT-ON GLAZE
The easiest way to get colour onto your kiln-fired pieces.
You brush it straight onto bisque-fired clay. No dipping, no spraying, no drama. You’ll need about three even coats.
We always use Mayco Stroke & Coat and Mayco Foundations: reliable, consistent and easy to find online.*
Where to buy: your local pottery supplier or online
Price: about 12 € per bottle
◾️
BRUSHES
For glazing, you need brushes that hold a lot of liquid.
Soft, full brushes like hake or mop brushes give you broad, even coverage.
For details, add a few smaller, soft round or flat brushes.
Where to buy: any art supply store, your local pottery supplier or online
Price: about 5 to 15 €, depending on size
◾️
DIPPING & POURING GLAZE
optional
For an all-over finish, dipping or pouring is the fastest way. Get a white or transparent glaze.
It works on its own or as a top coat over your colours and drawings.
Almost any brand will do, just make sure it’s food safe and matches your firing range.
Most dipping glazes come as a powder you mix with water. Wear an FFP3 mask while mixing, and ideally do it outside.
Where to buy: your local pottery supplier or online
Price: about 15 € for 1 kg
◾️
UNDERGLAZE PENCILs
optional
They’re too much fun to skip. Draw straight onto bisque-fired clay, as precisely as with a pencil.
Perfect for fine lines and details. Start with one colour: black or dark blue are great and look beautiful under a transparent or coloured glaze.
Get one right away. You’ll love the look and use it again and again.
Where to buy: your local pottery supplier or online
Price: about 15 €
◾️
BUCKETS
optional
If you’re into dipping or pouring glaze, you’ll need plastic buckets with tight-fitting lids for dipping and for storing leftover glaze.
A 3 to 5 litre (about 1 gallon) bucket works for smaller pieces, a 5 to 10 litre (about 1.5 to 2.5 gallon) one for larger pieces like plates.
Straight-sided containers make clean dipping easier.
Where to buy: any hardware store, supermarket or online
Price: about 3 to 6 € each
Alternatives: large yoghurt or ice cream containers
*Not sponsored, just stuff we genuinely love!