
the Things you have at home*:
*Don't use tools you stole from your kitchen for cooking after they've become magical clay tools.
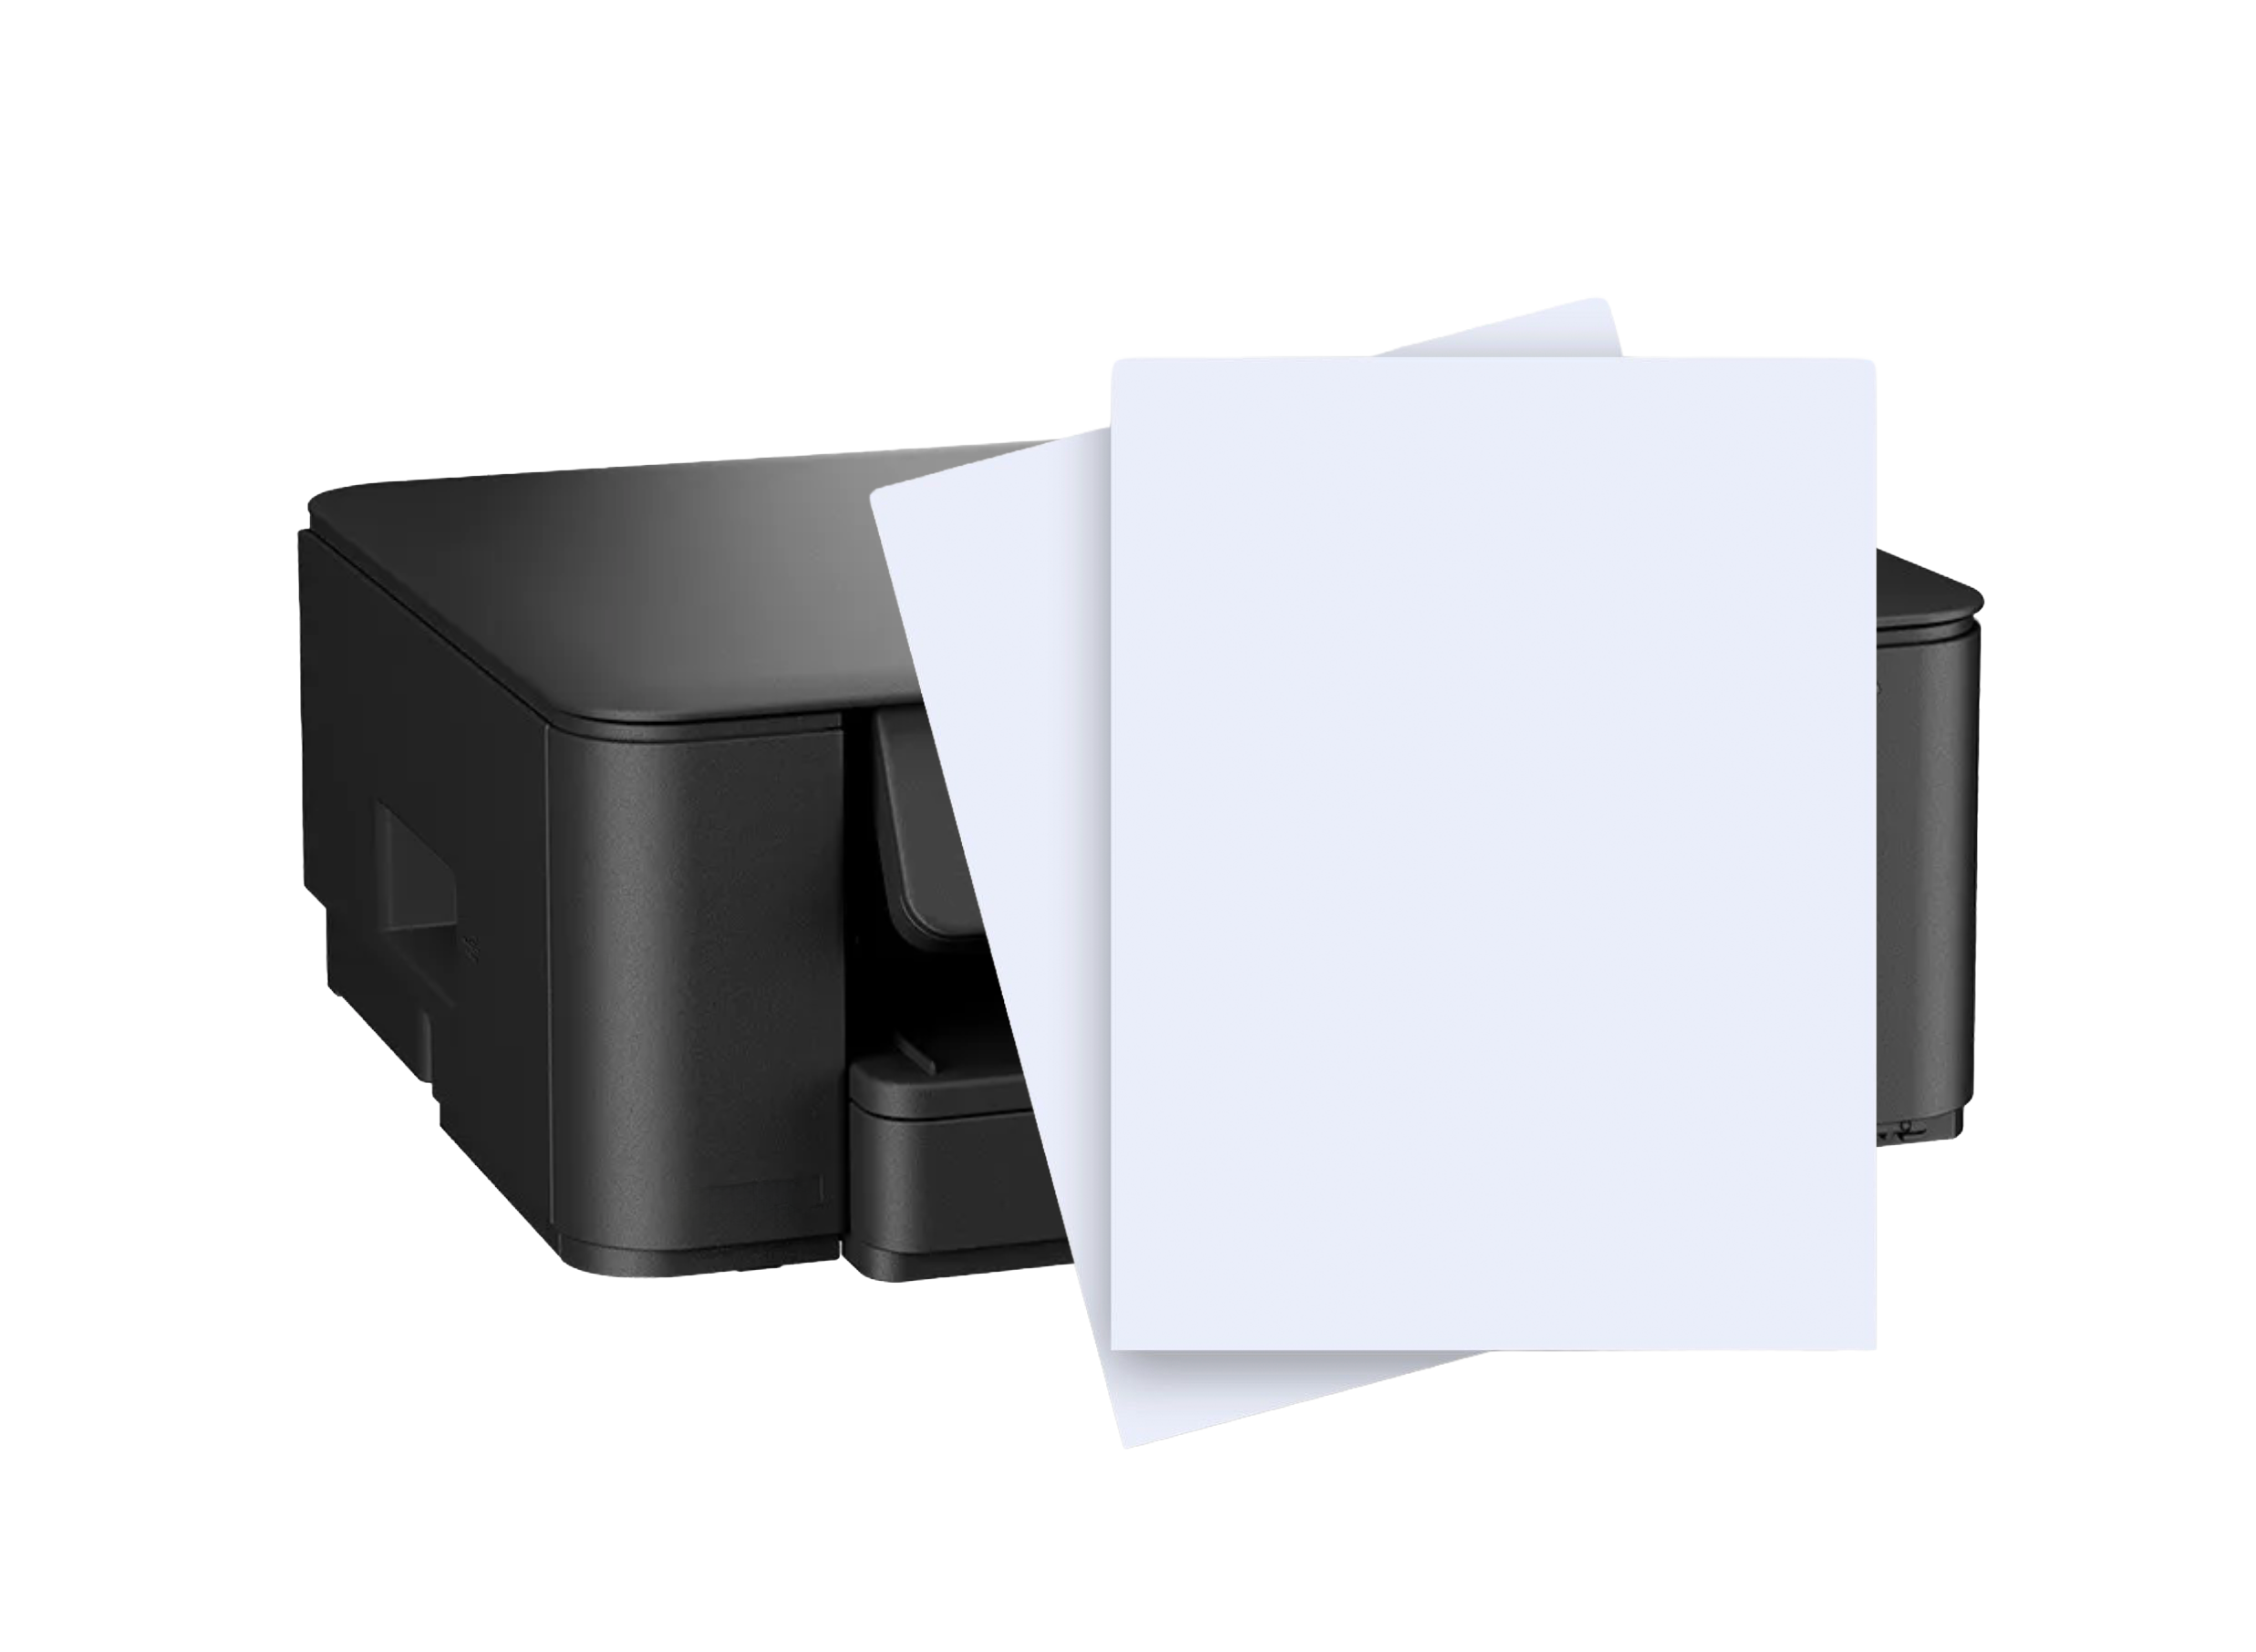
Printer and paper
ESSENTIAL
You probably already have both. Any home printer works and standard 80 gsm copy paper does the job. If your printer handles it, 120 or 160 gsm is even better: sturdier to cut around and easier to reuse. No printer at home? Any copy shop will print your templates for a few cents per page.
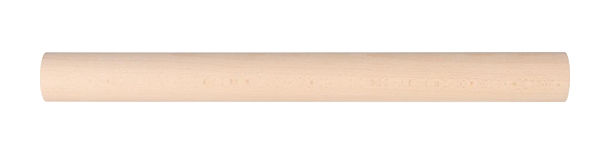
Rolling Pin
ESSENTIAL
A straight wooden rolling pin would be perfect. Avoid the tapered kind with raised handles; you need even pressure across the full length for consistent clay thickness. A length of around 40 cm (approx. 16”) is ideal. A smooth glass bottle works as a quick alternative in a pinch.

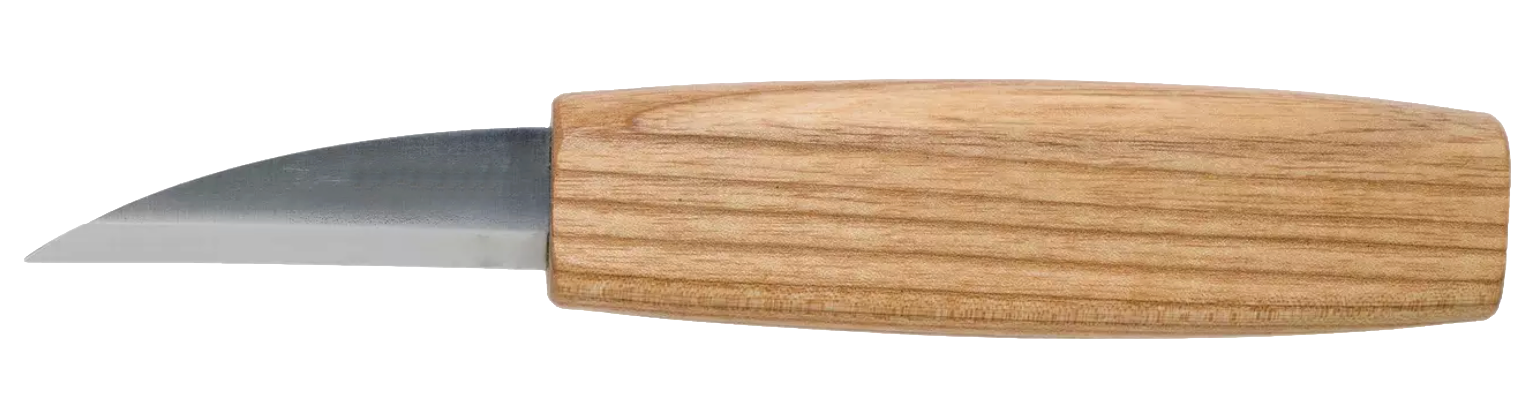
an old kitchen knife
ESSENTIAL
A basic kitchen knife is all you need here; no special pottery tool required. Straight-bladed and not too flexible works best for clean cuts.
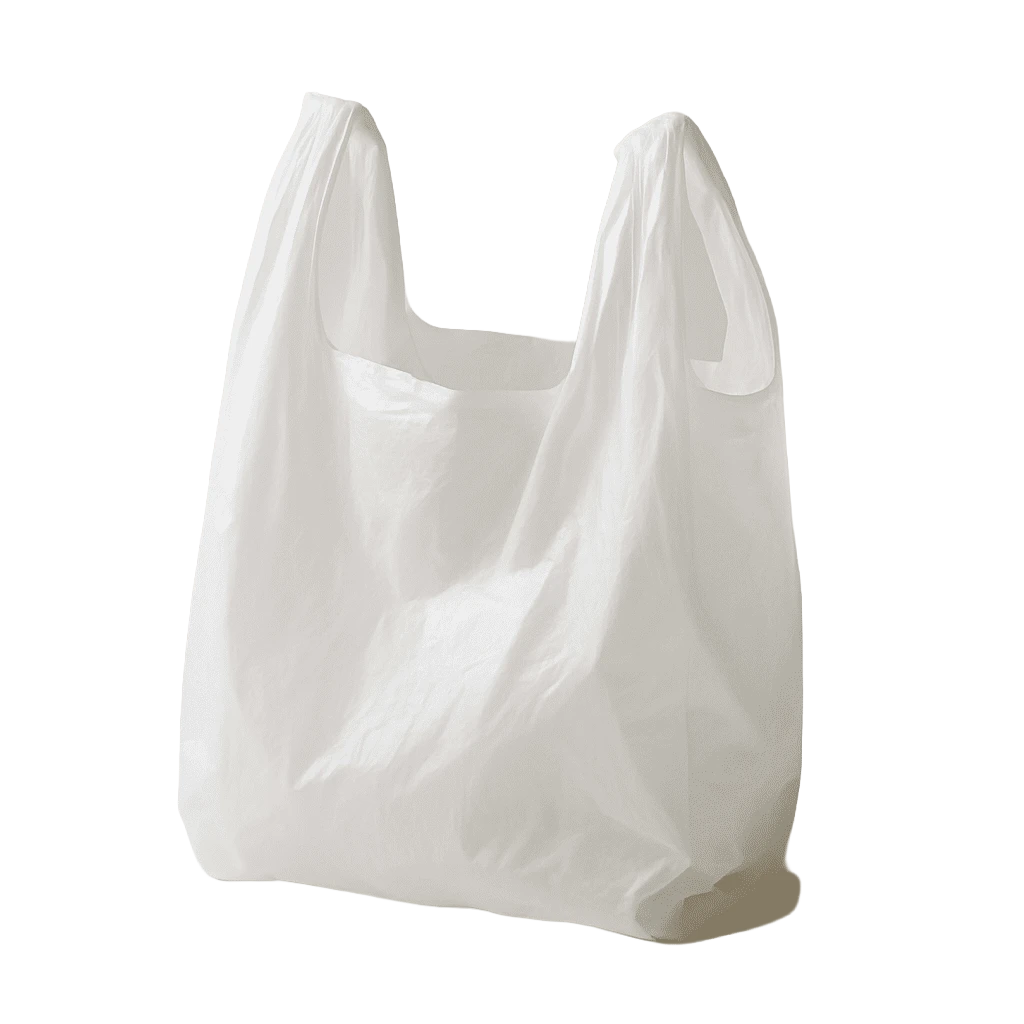
Old Plastic Bags
ESSENTIAL
No shopping needed here! Raid your kitchen drawers. Old plastic bags, freezer bags or bin liners) or disposable shower caps ar used to loosely cover your pieces while they dry.
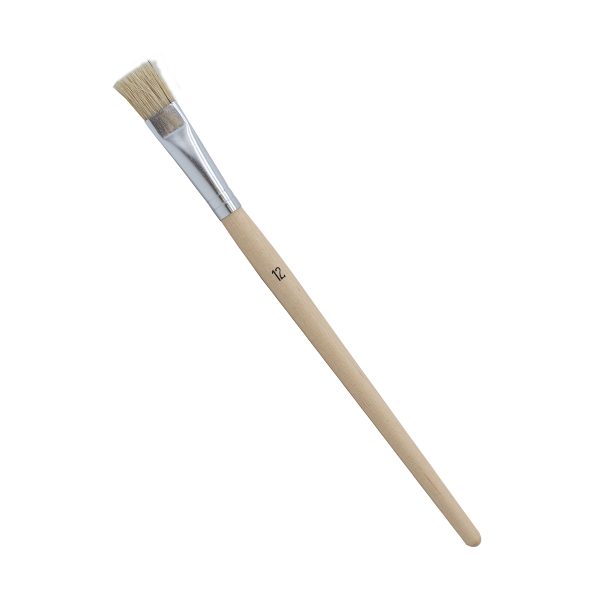
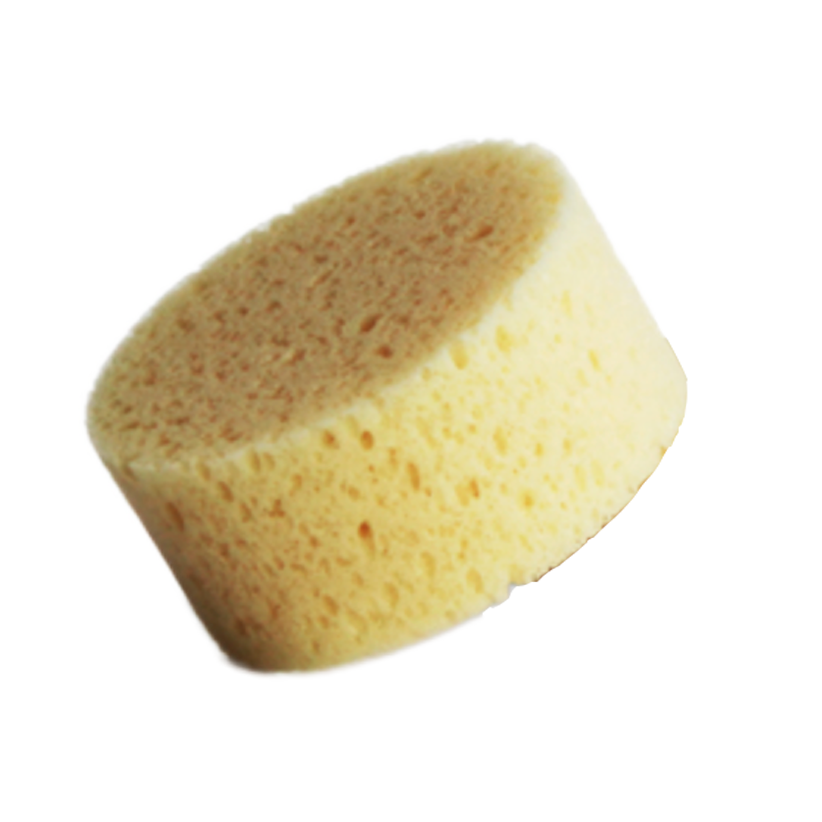
Sponge, a small bowl and a small brush
ESSENTIAL
A small round sponge, a bowl for water, and a soft brush — a cheap kids' school brush works perfectly. Keep them close: the sponge and bowl for wiping down your work surface as you go, the brush for smoothing and refining your piece.
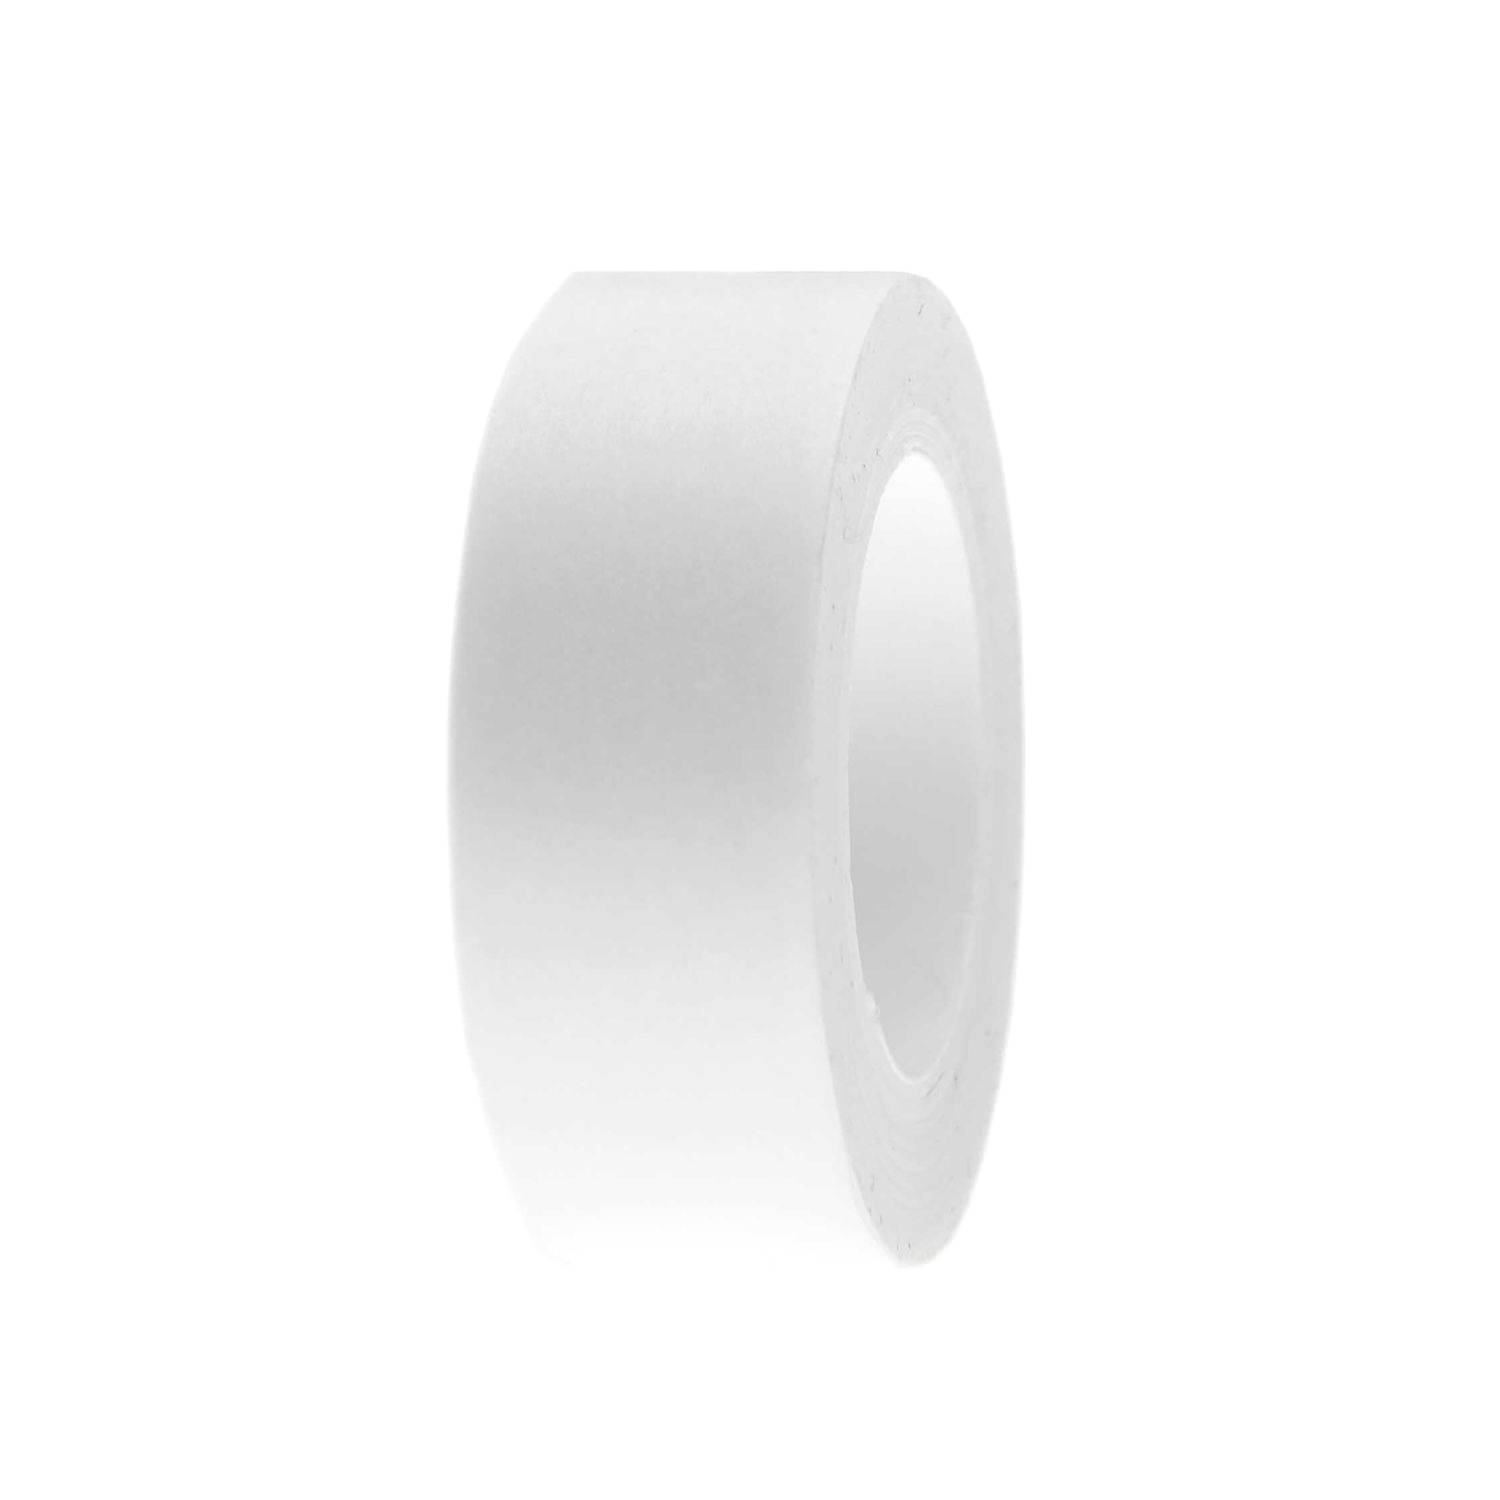
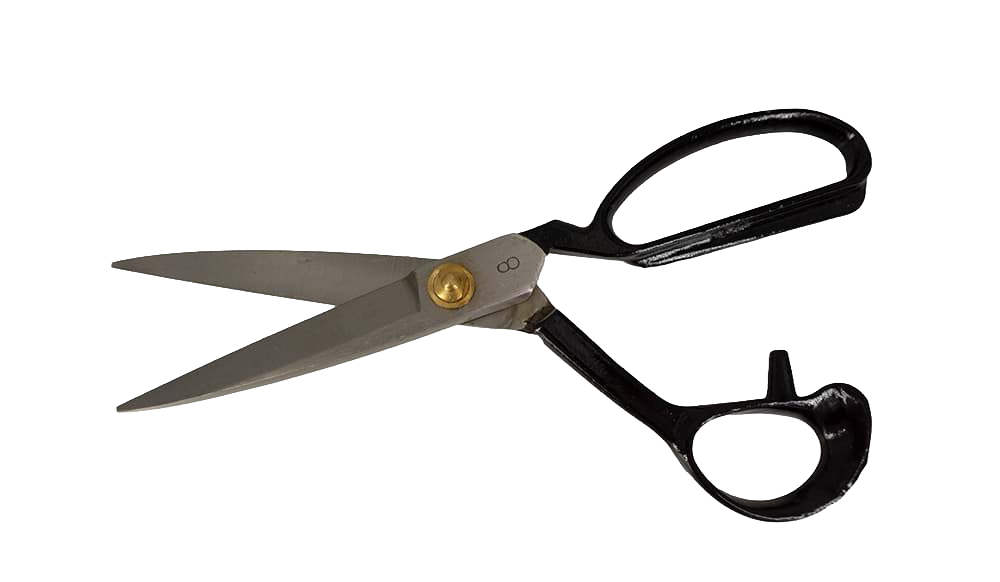
scissors and tape
ESSENTIAL
Standard household scissors are all you need. For tape, regular adhesive tape (like Scotch tape) or washi tape is fine to join template pieces.
Work board (MDF, wood or canvas)
OPTIONAL TO BUY
Your rolling, building, and drying surface. Around 50 × 70 cm (20 × 28"), 18 mm (¾") thick: MDF, plywood, or canvas all work well. Any hardware store will cut it to size.
Around 12 €.
An old kitchen board or a piece of canvas works as a quick alternative.
A few things to buy
Psst: They’ll cost you less than a night out!


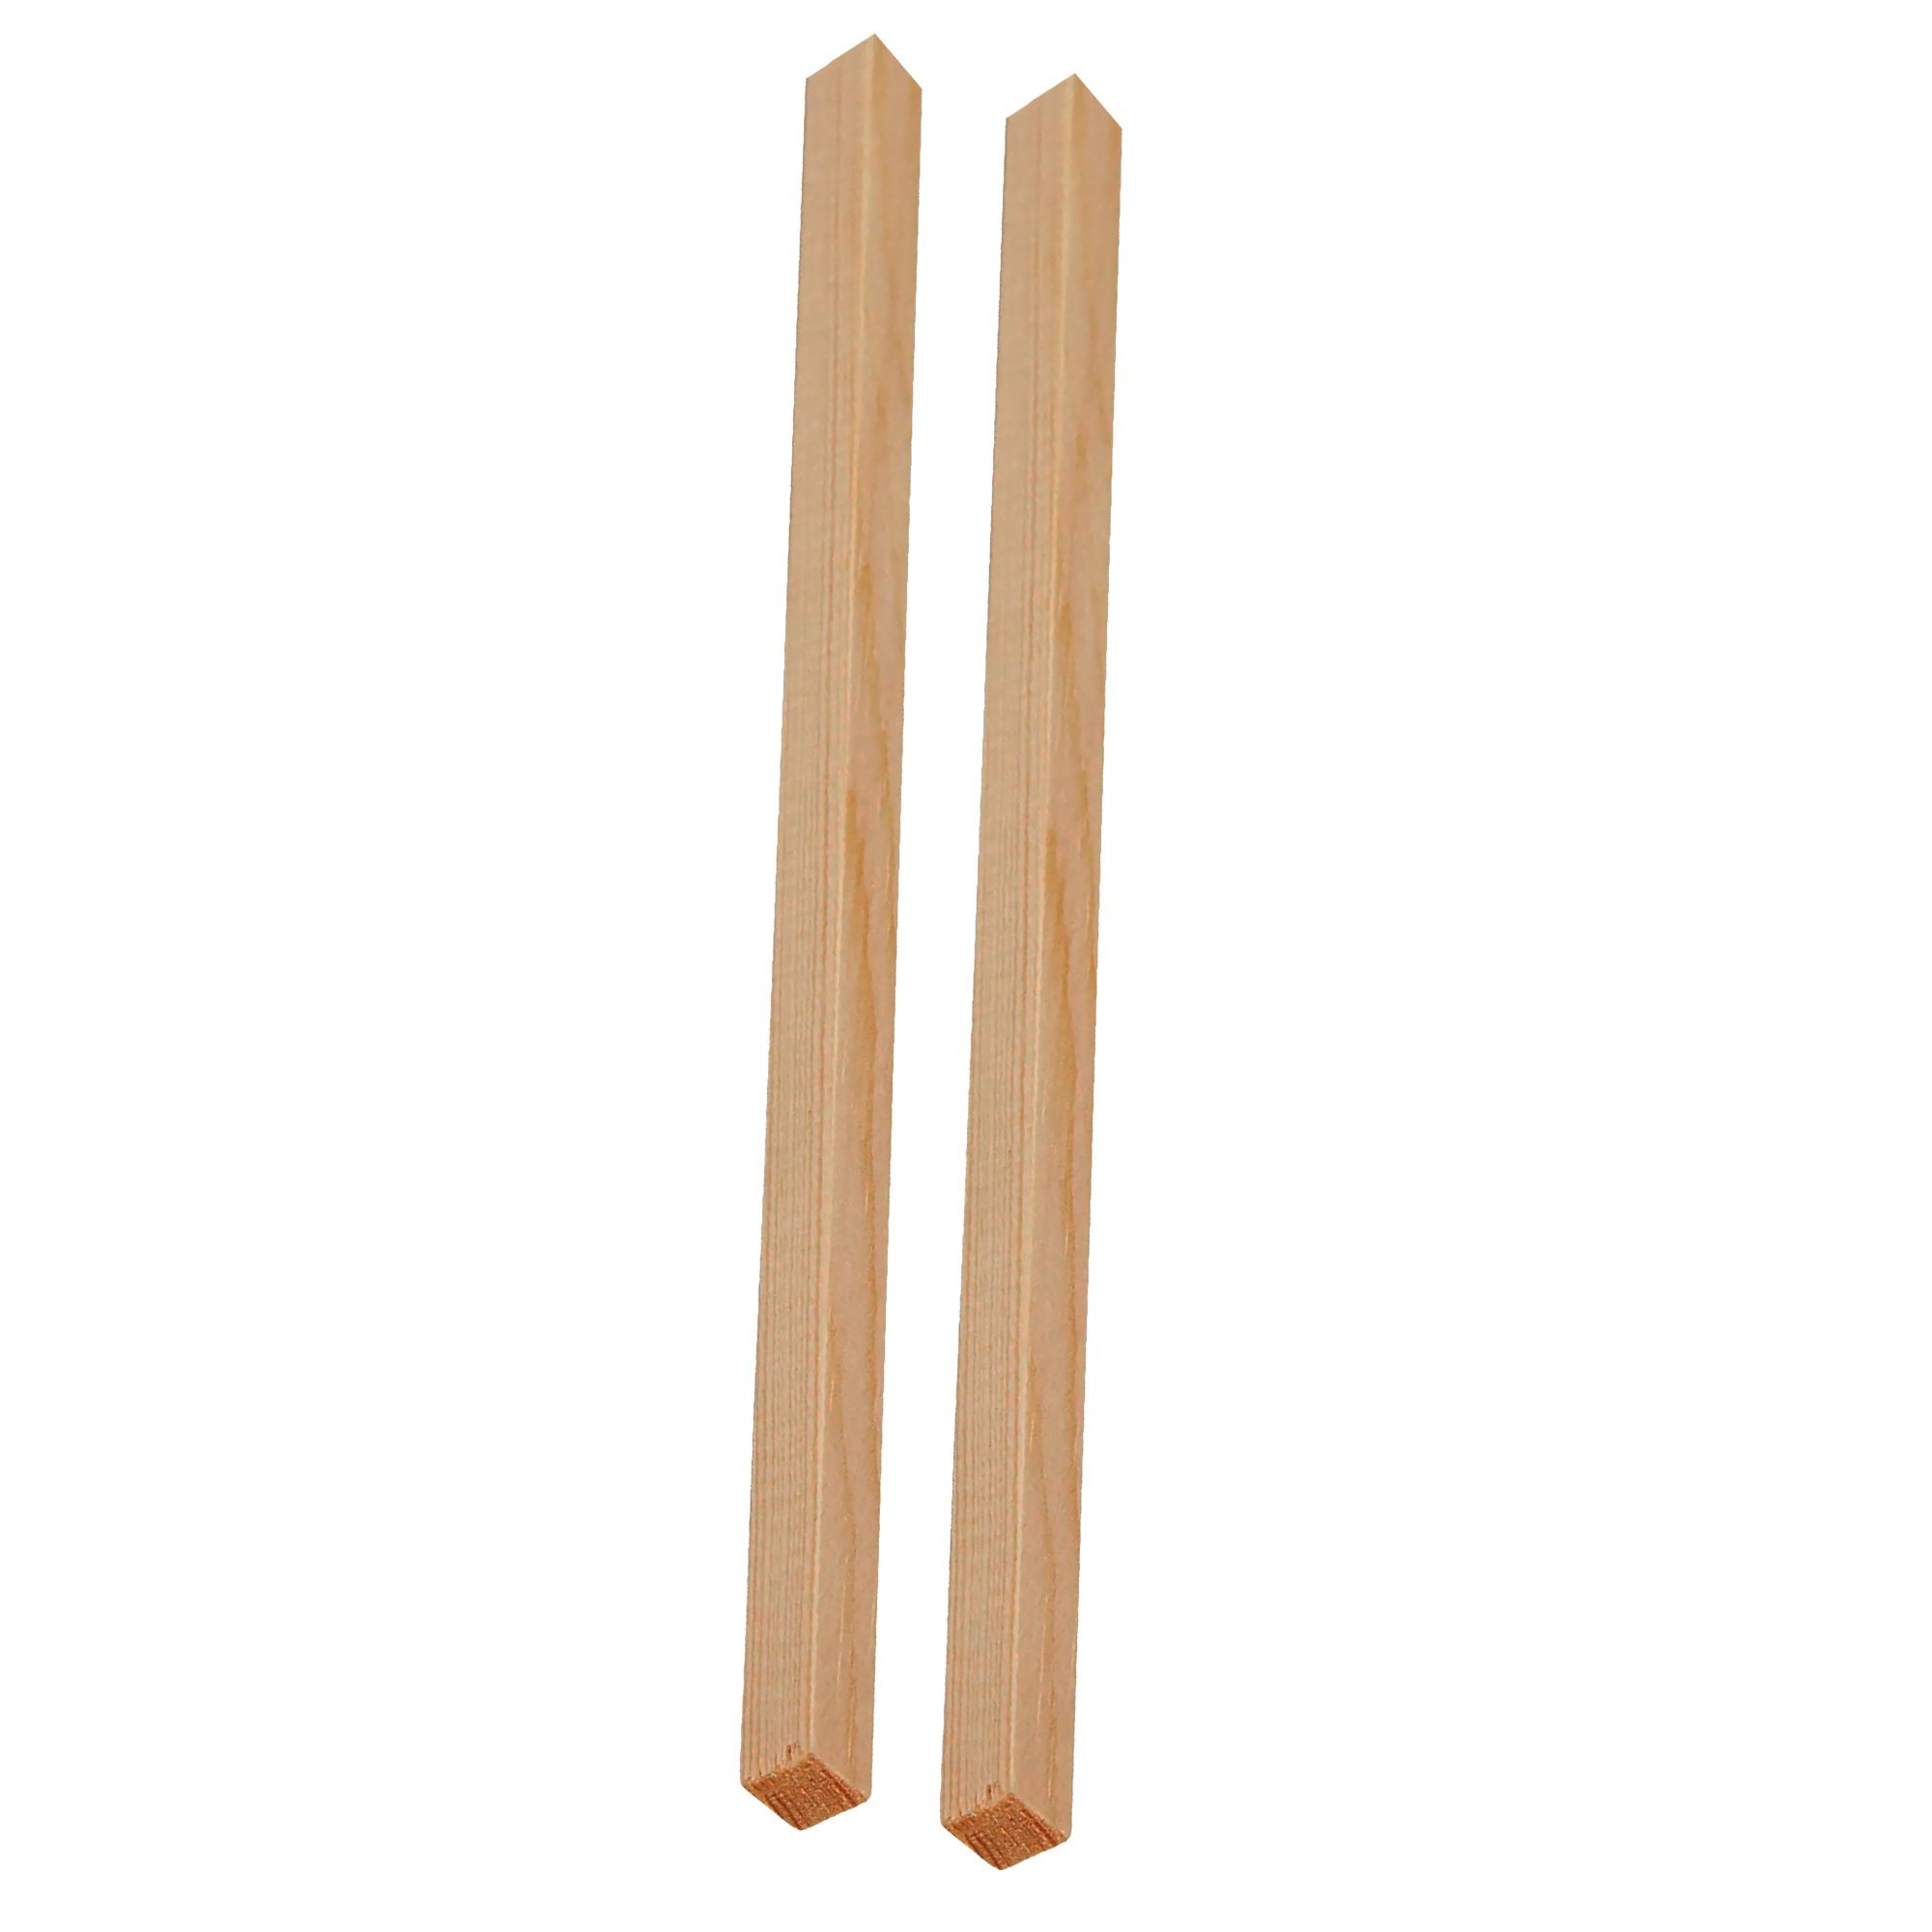
Wooden Guides
ESSENTIAL
Pick up a square pine modelling strip (ca. 100 × 0.6 × 0.6 cm / 40 × ¼ × ¼") from your hardware store and ask them to cut it in half: instant perfect guide sticks. You can also find ready-made sets on Amazon (search "pottery guide sticks"). Look for a thickness of 0.6 cm (¼") for the ideal clay slab depth.
Around 2–3 € at the hardware store. A set of guides online are about 9 €.
Clay
ESSENTIAL
The star of the show. Stoneware with a little grog is ideal for slab building — look for 20–40% fine grog, low or mid firing temperature. This works with most firing services, so you're covered wherever you fire. Prefer to skip the kiln? Air-dry clay works great for a lot of projects (look for ‘air-dry’ in our filter). Find both at your local craft store or online.
Around 10 € for 5 kg.
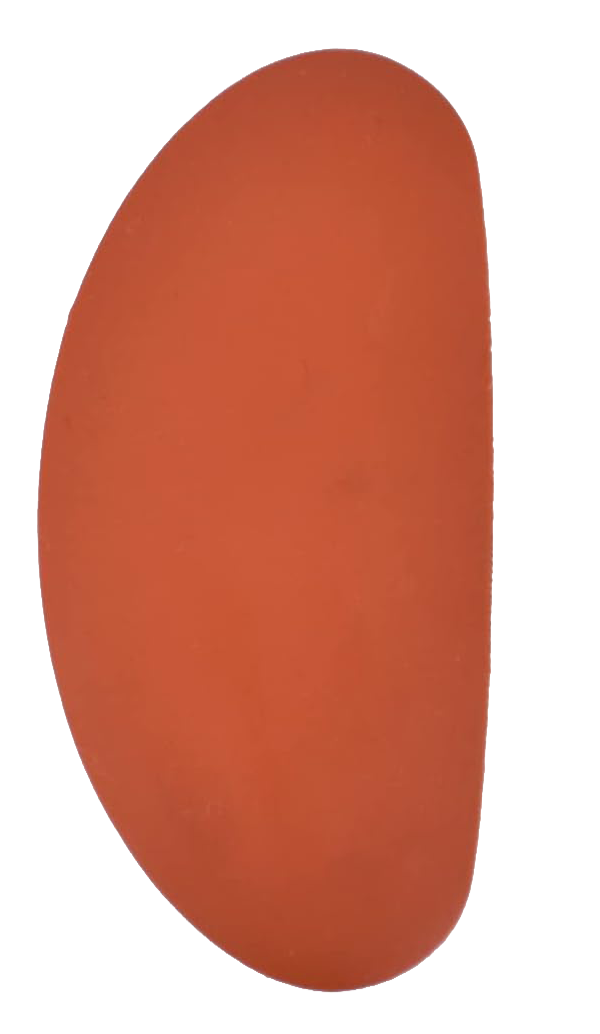
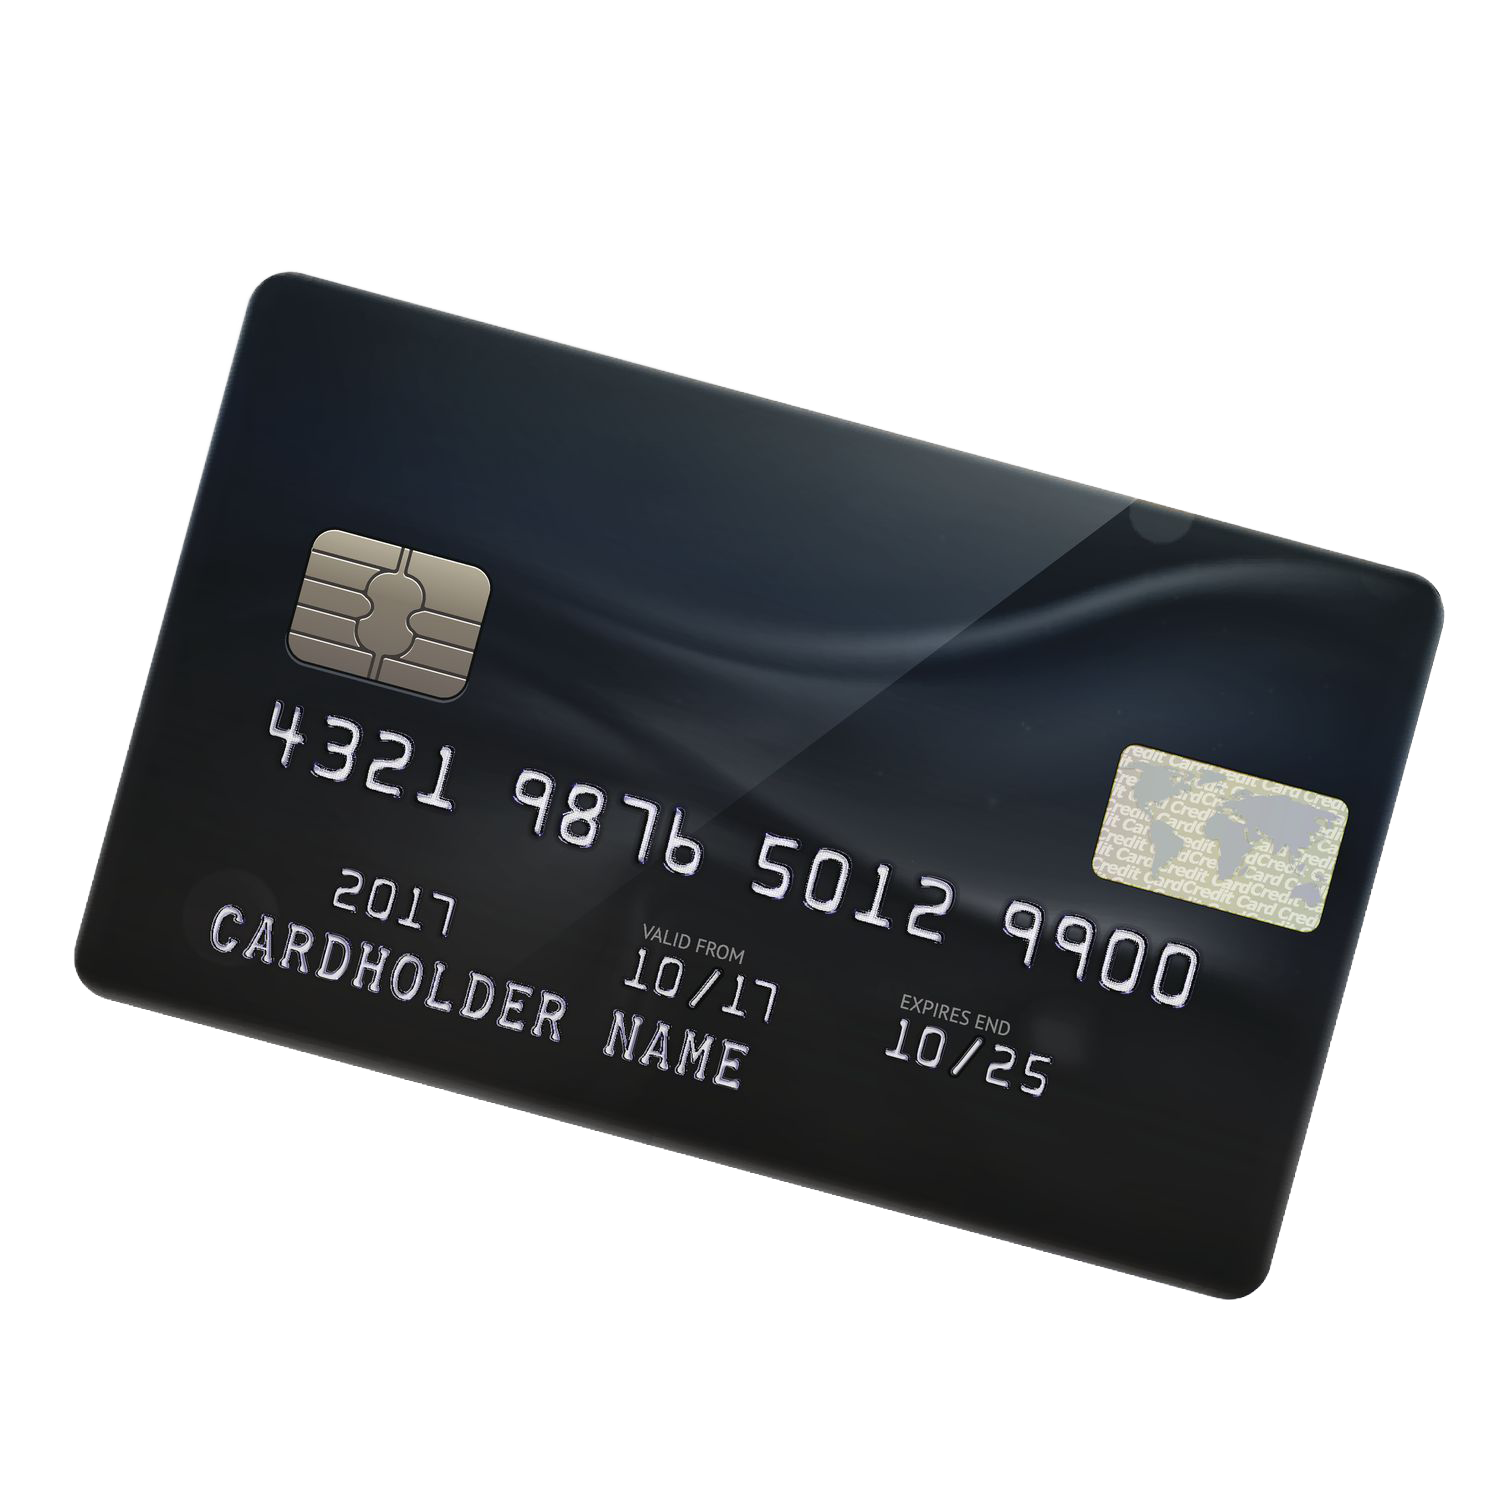
Rib tool
OPTIONAL TO BUY
Your best friend for smoothing surfaces and creating clean edges. The firmer rubber ribs are our favourite — but metal ribs work great too, especially the straight ones for sharp, clean lines. Find them at your local pottery or craft store, or on Amazon.
Around 4 €.
An old credit card works surprisingly well as an alternative.
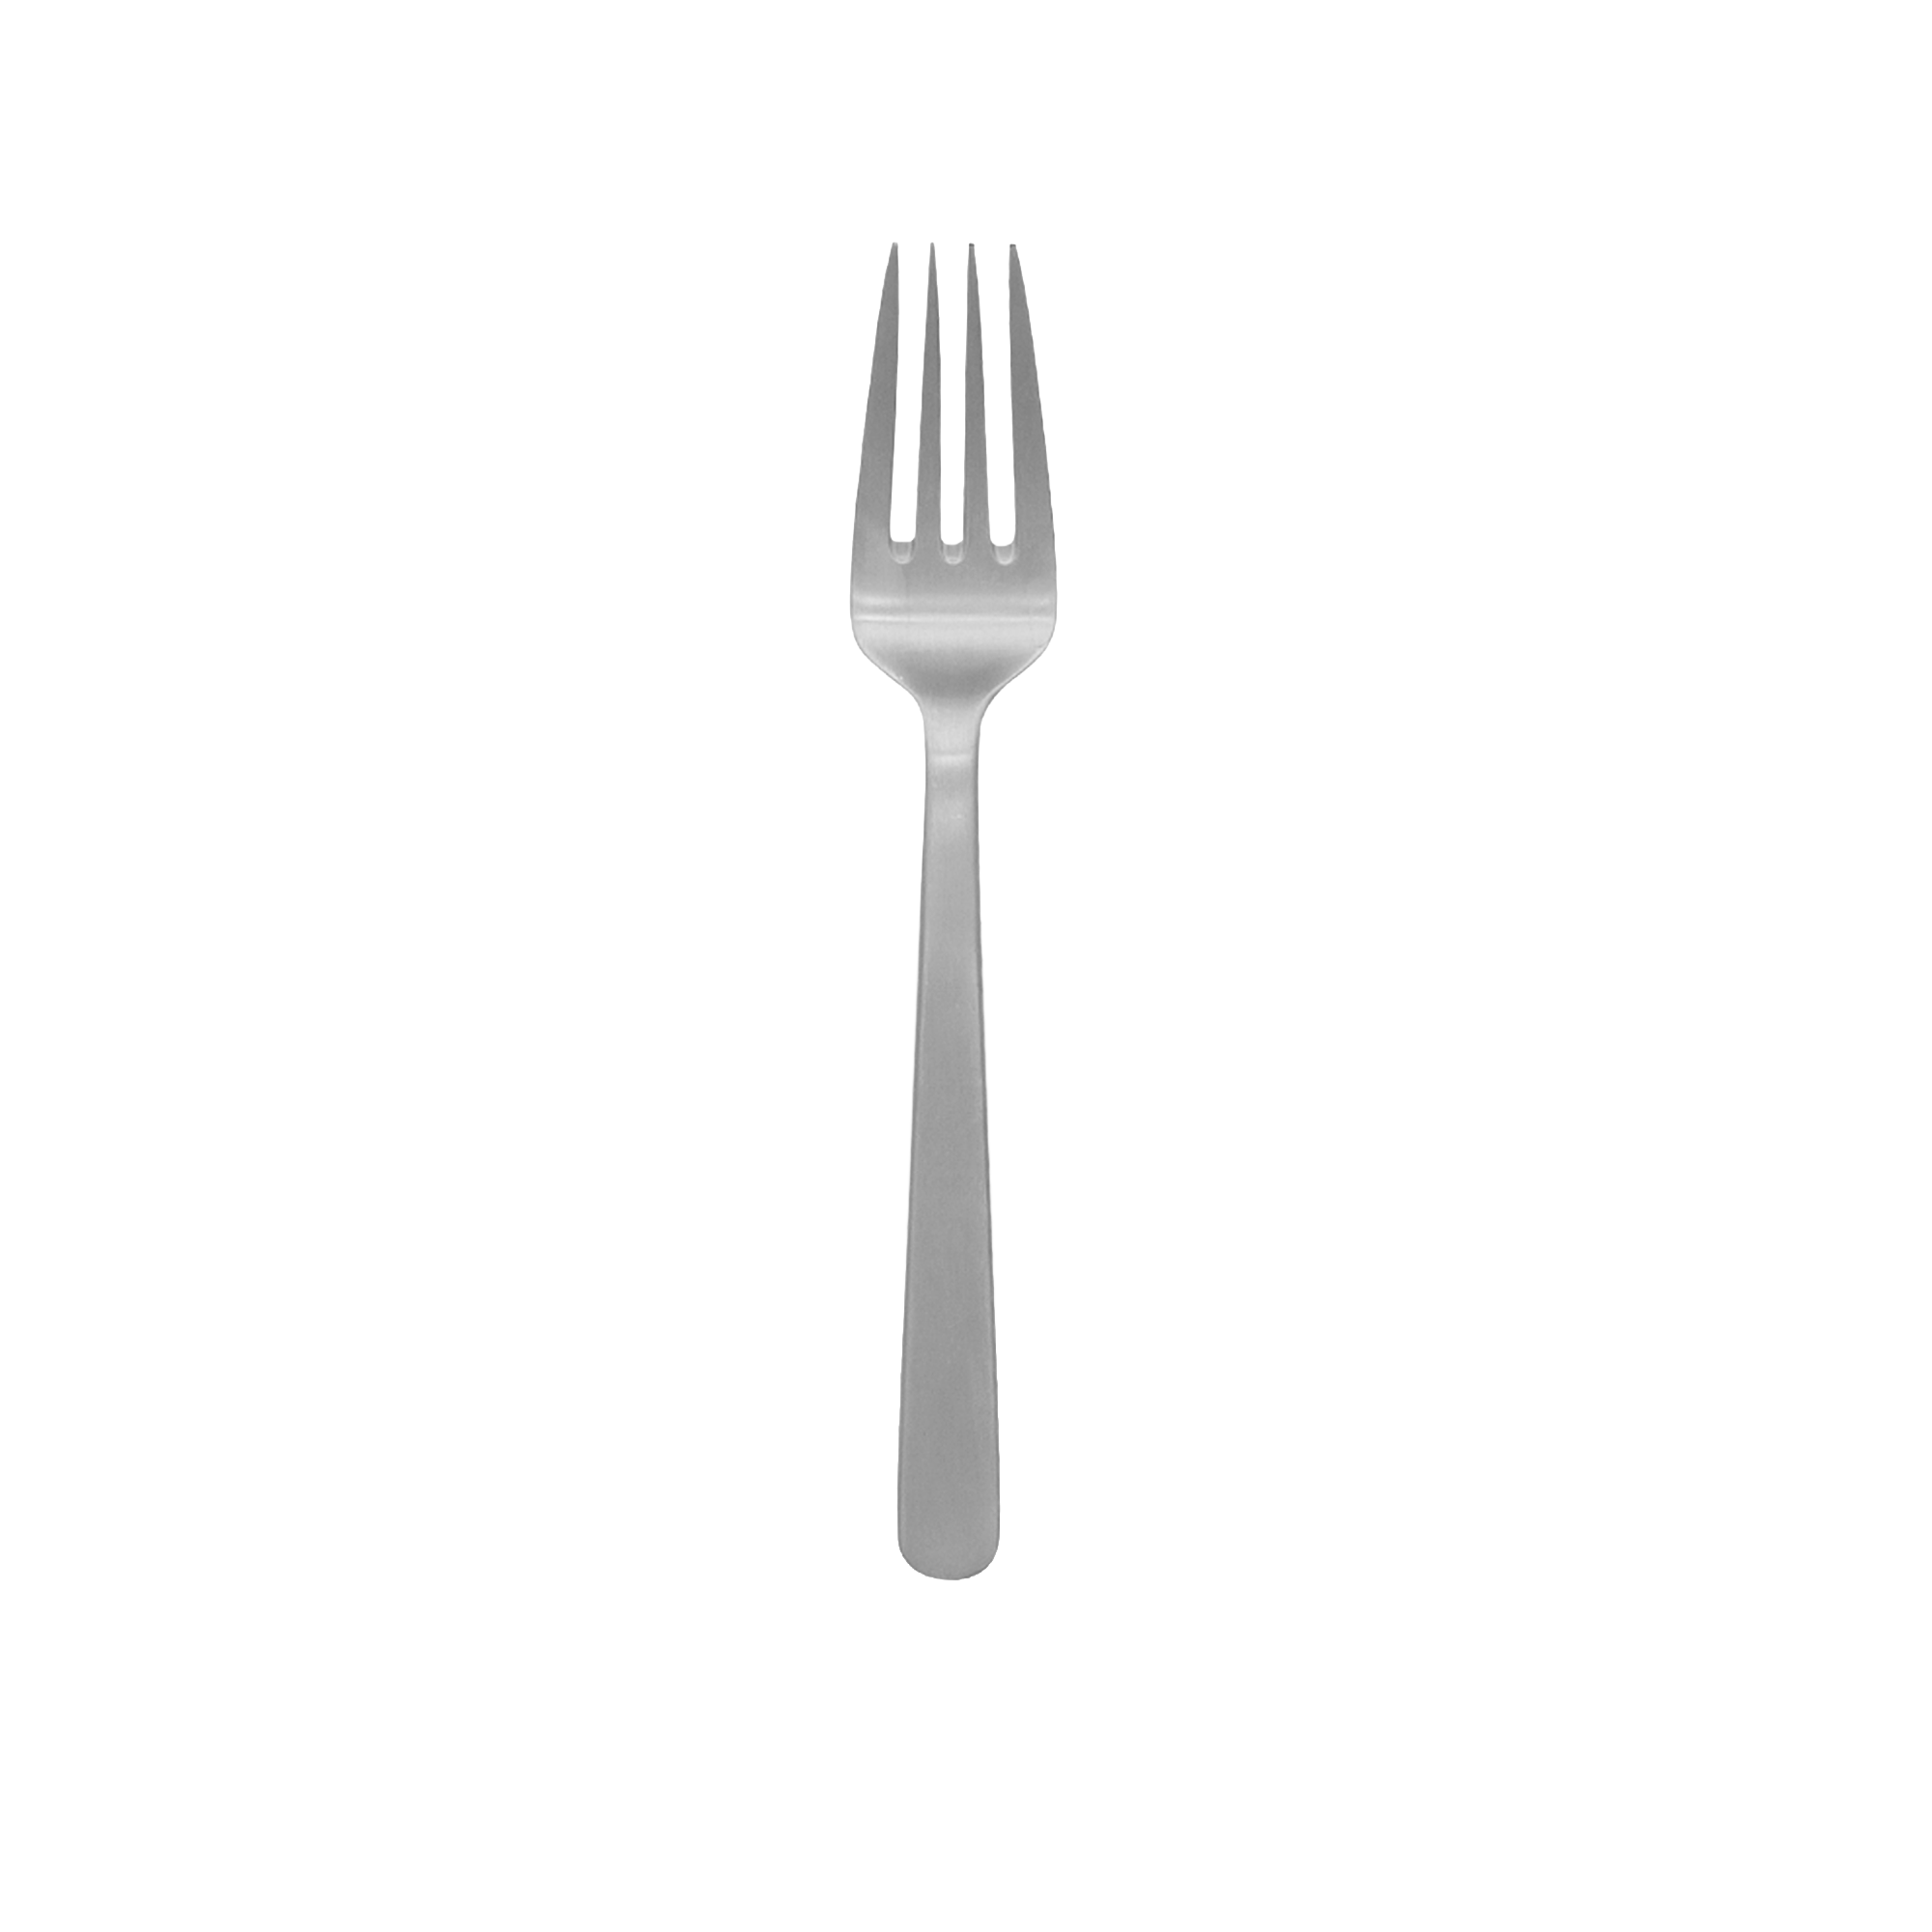
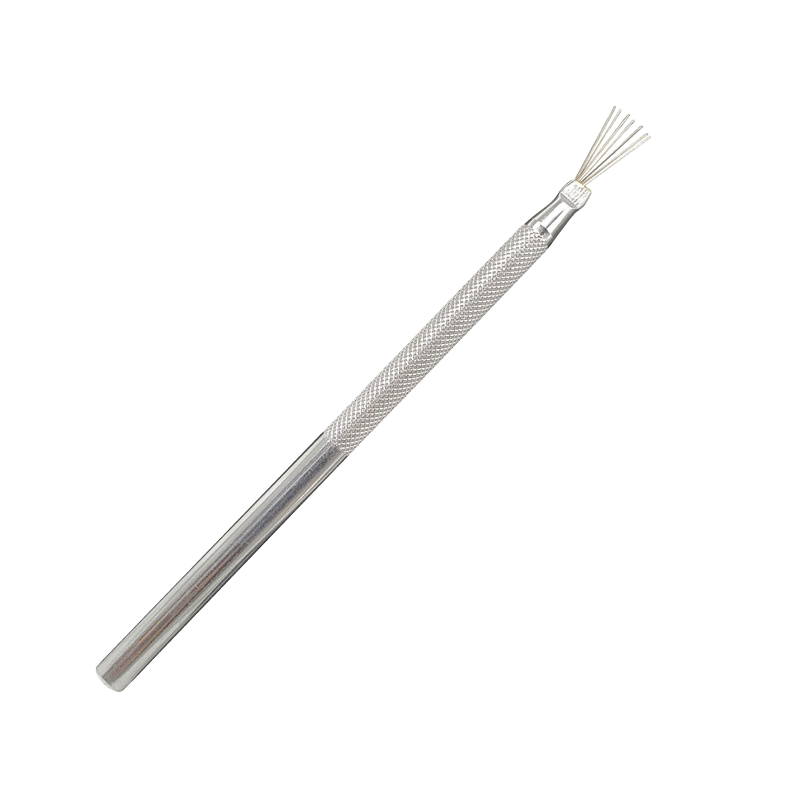
Scoring tool
OPTIONAL TO BUY
A handheld scoring tool is used to roughen clay surfaces before joining pieces together — essential for strong, lasting seams. A serrated metal rib does the same job. Find both at your local pottery or craft store.
Around 4 €.
An old fork works perfectly as an alternative.
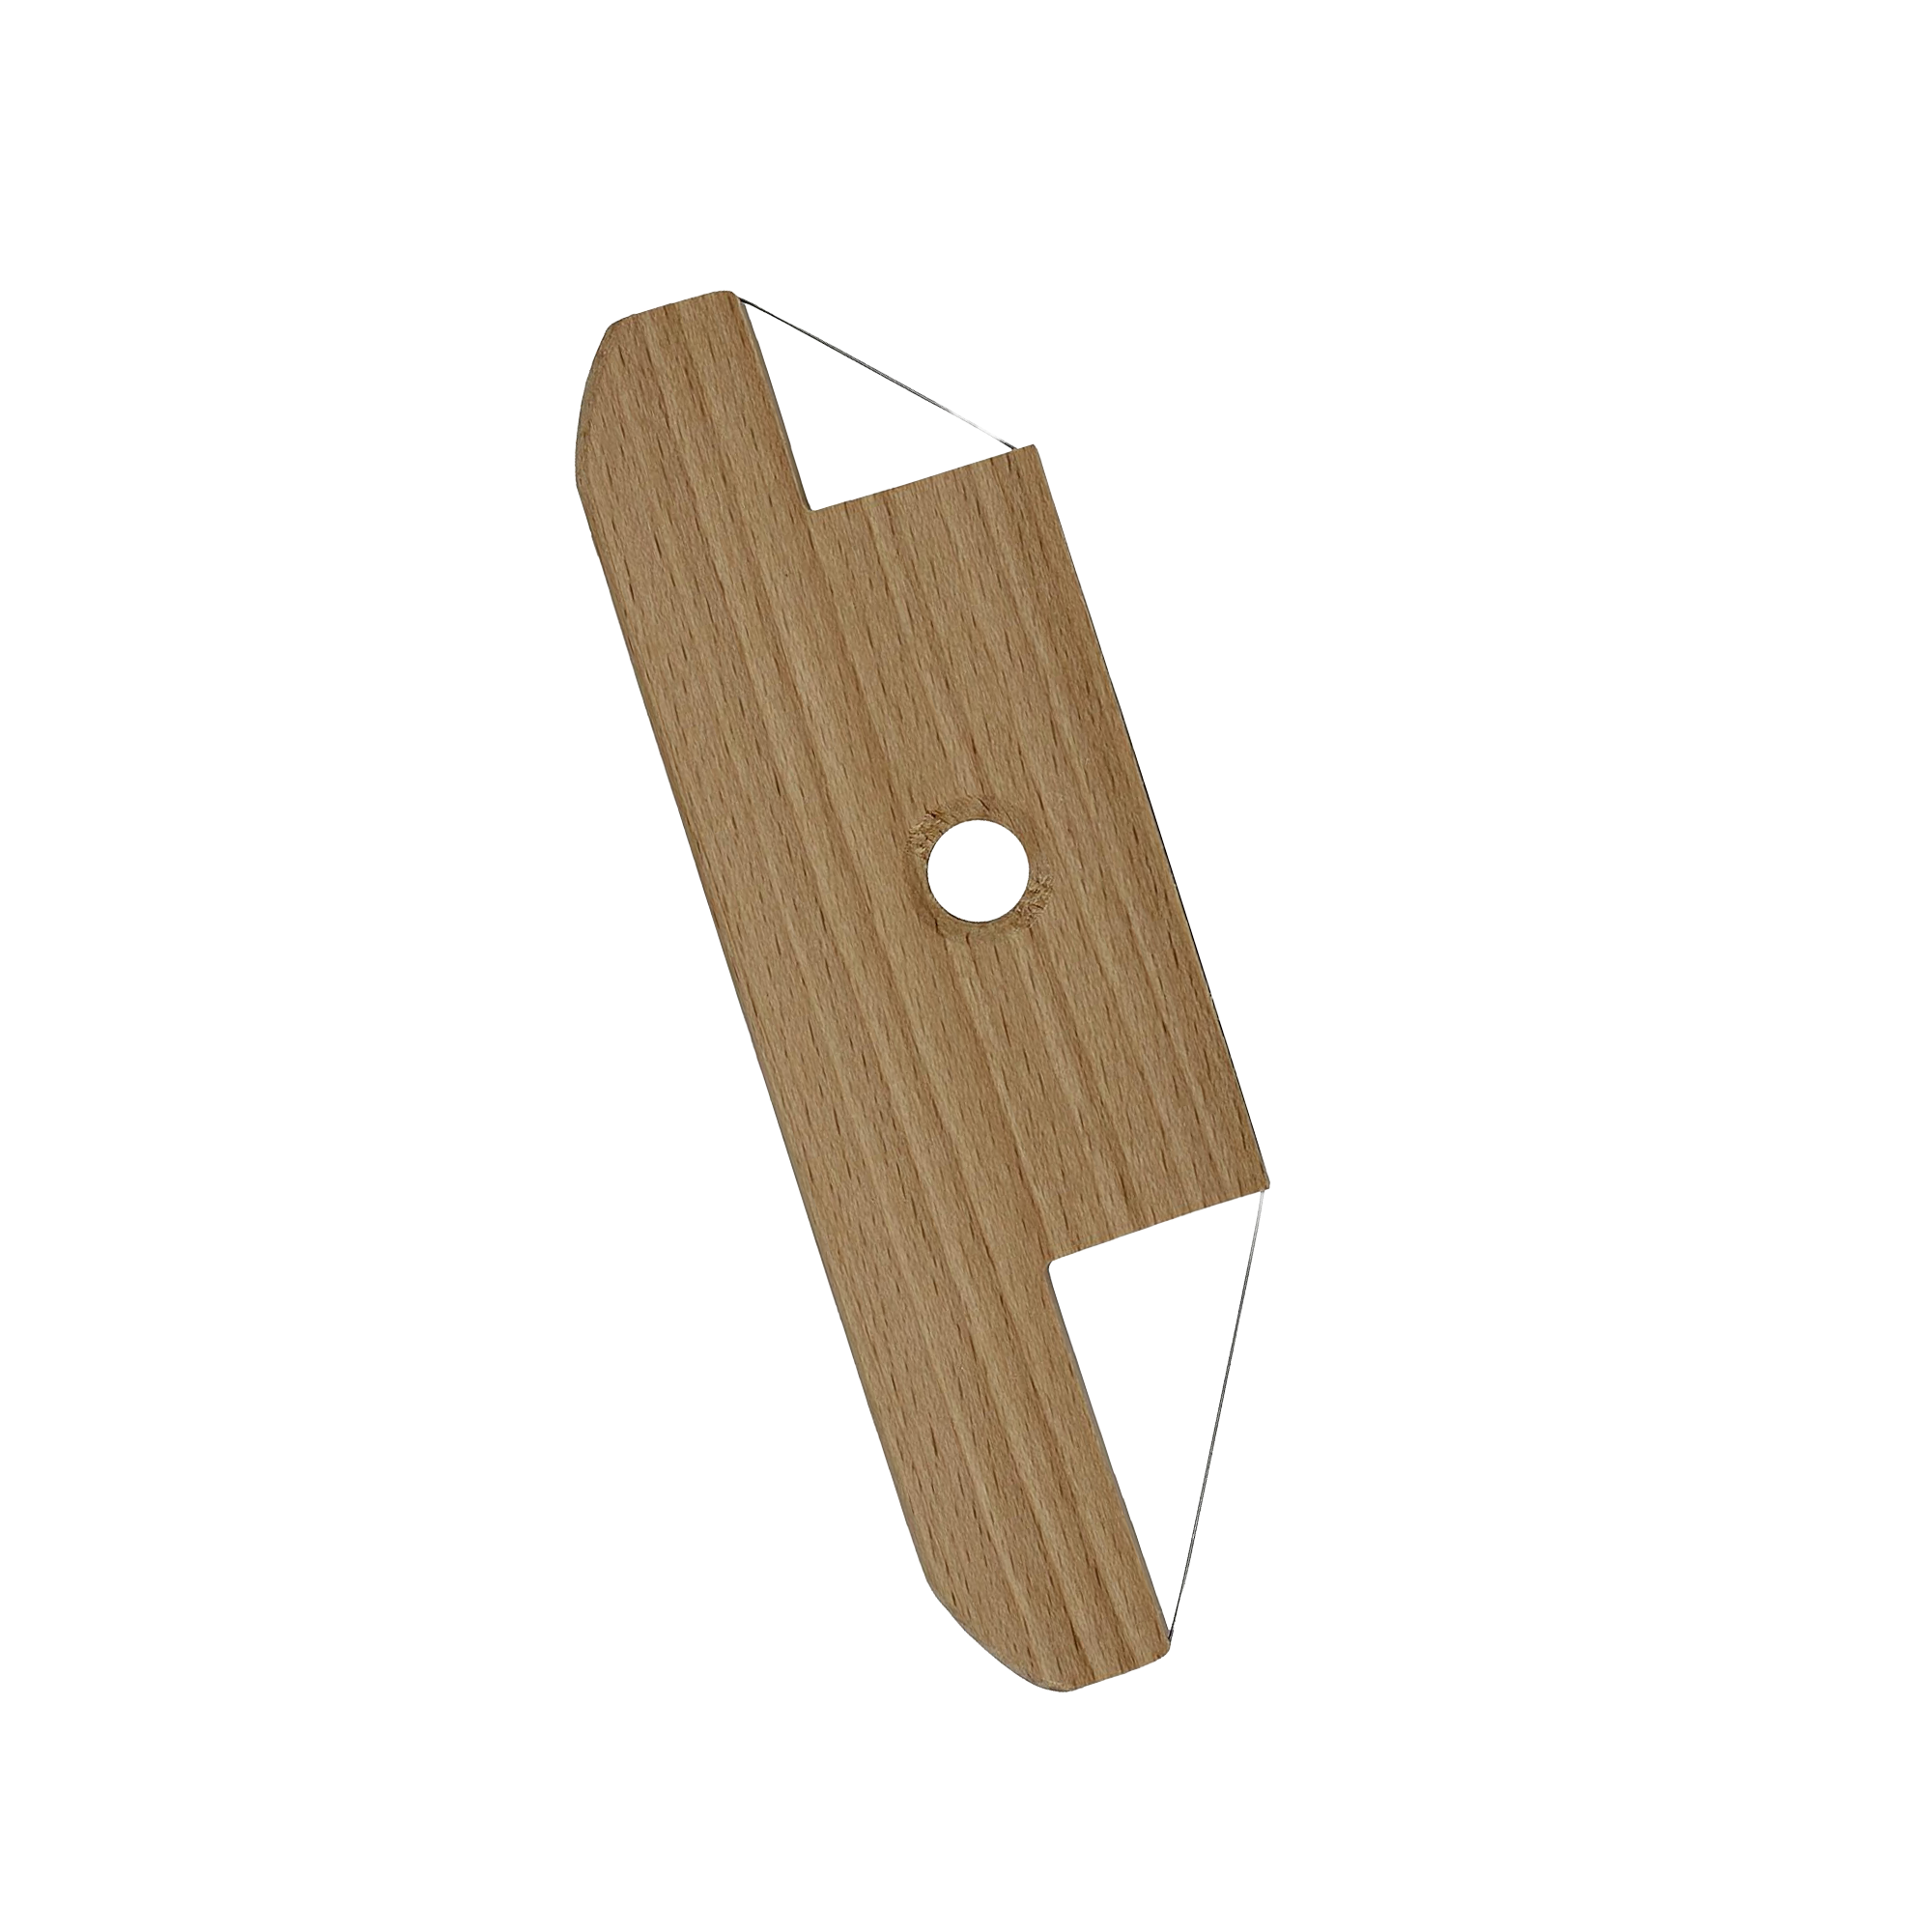
Angle Tool
essential
Essential for clean joins. When building mugs, cups, or any upright form, you cut the clay edges at a 45° angle — they fit together perfectly and create a much stronger, neater seam. A cheap basic plastic mitre/angle tool does the job. Find one on Amazon or at a craft or hobby store.
Around 5 €.
A steady hand and a ruler work as a rough alternative, but the tool makes it significantly easier.
nice to have:
If you've caught the clay bug and want to take your practice a little further, these are worth adding to your kit:
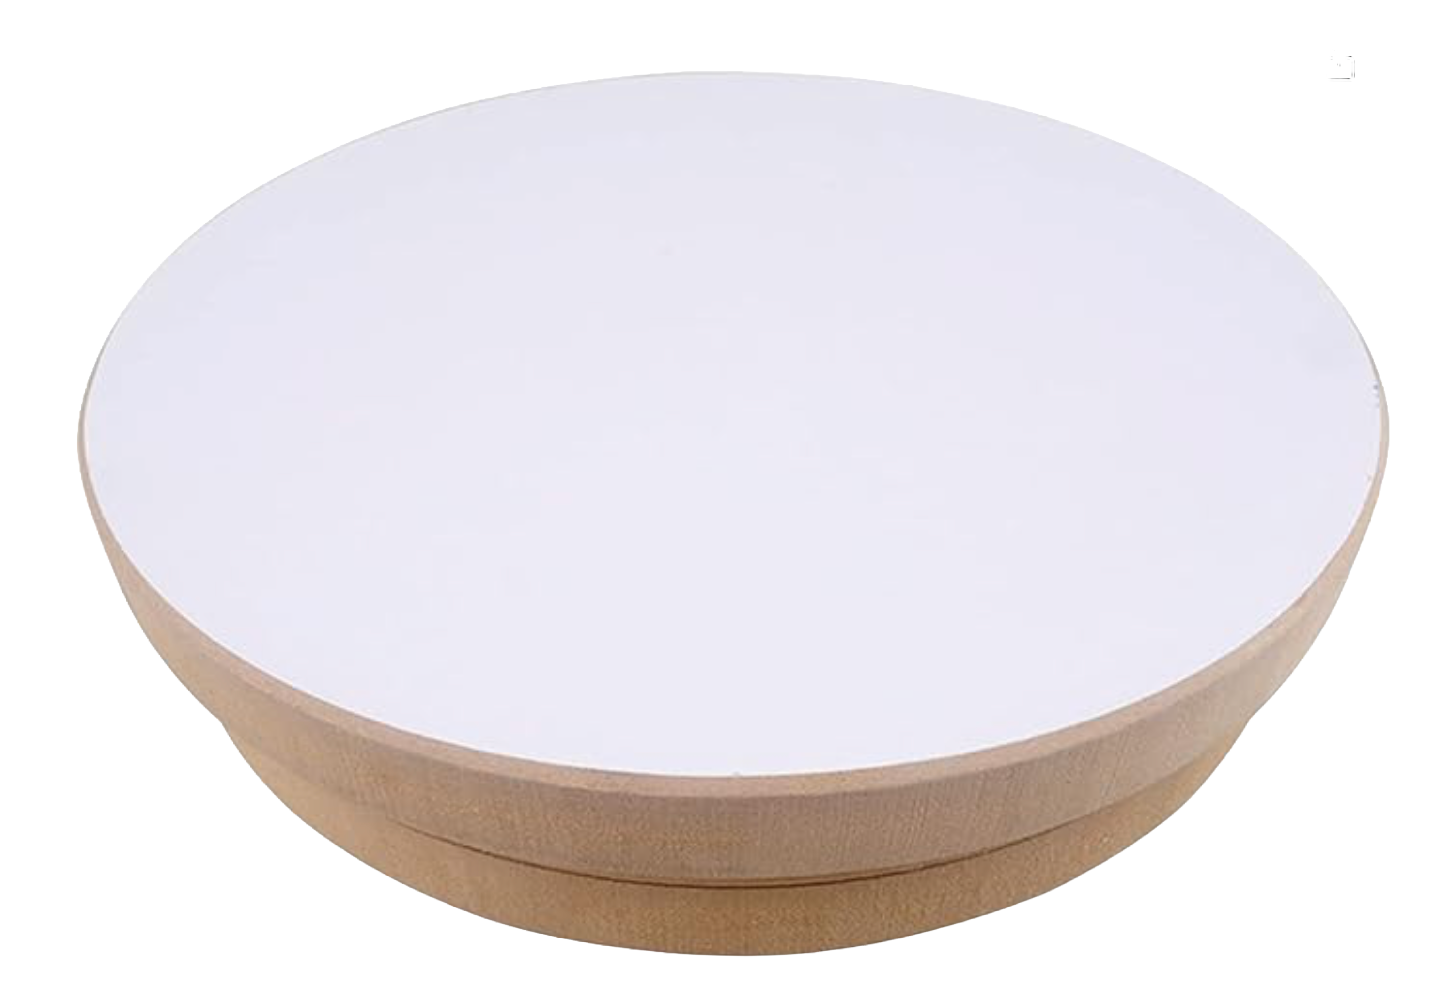
small Turntable
NICE TO HAVE
A pottery turntable lets you rotate your piece while you work — great for smoothing, refining edges, and adding decoration evenly all the way around. But you can totally work without one (we’ll show you how in our Cuddle Cup Template). Look for a round MDF turntable, around 20 cm (8") in diameter — sturdy enough for slab work and easy to handle. Find one on Amazon or at a craft store.
Around 15 €. We love this one*.
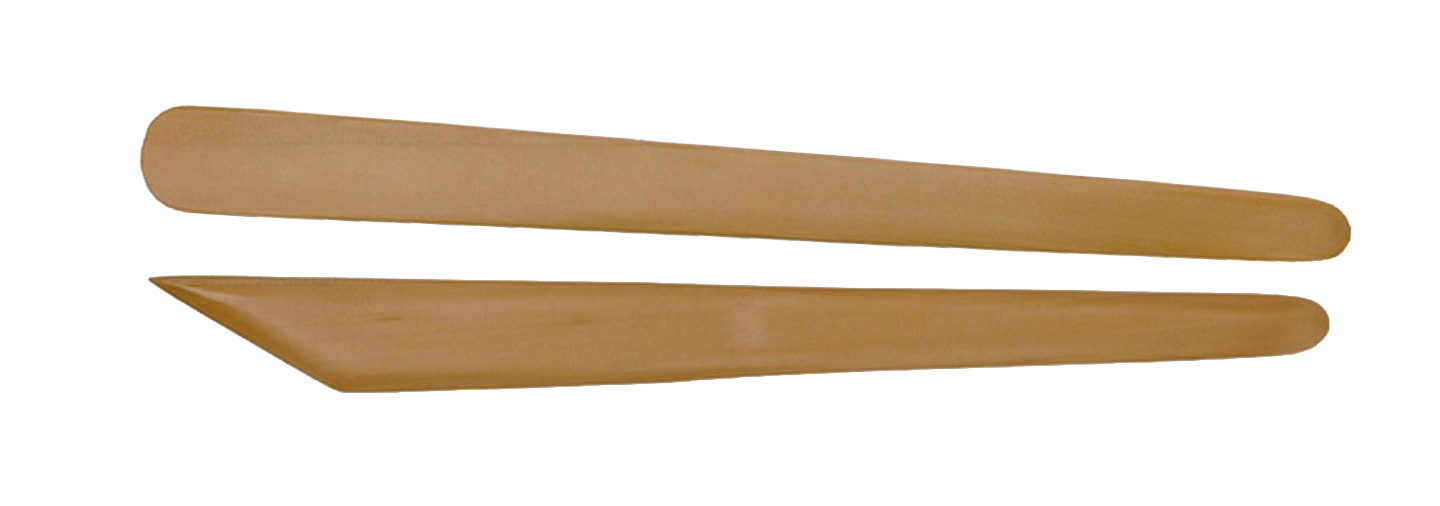
Wooden Modeling Tools
NICE TO HAVE
We use a beveled modeling tool — flat with a long angled edge, It is perfect for smoothing joins, cleaning up seams, and working into tight corners. The round-ended paddle (one large end, one small) is your go-to for smoothing joins and shaping walls from the inside. They make the job easier, but you can do this with your fingers, too. Find them at any pottery supplier or online.
Around 2 € each.
set of various circle cutters
NICE TO HAVE
A set of round stainless steel cutters in graduated sizes is endlessly useful for cutting clean circles in your clay: drainage holes, decorative details, or shaped pieces. A standard cookie cutter set (2–12 cm / ¾–4¾") works perfectly; no need for specialist pottery tools. Find them at any kitchen shop, supermarket, or online.
Around 8 € for a set of 6.

*(Not sponsored, just stuff we genuinely love!)
GLAZING AND COLORING
Kiln-fired projects
Paint-on glazes
ESSENTIAL
The easiest way to get colour onto your kiln-fired pieces. Paint-on glazes are applied directly to bisque-fired clay with a brush — no dipping, no spraying, no drama. We love Mayco Stroke & Coat* and Mayco Foundations*: both are reliable, beautifully consistent and have a large firing range. They are widely available online.
Around 8–12 € per bottle.
dipping/pouring glazes
OPTIONAL
For an all-over glaze finish, dipping and pouring is the most efficient method. Go for a white or transparent glaze — both work beautifully as a base or on their own. Any brand works, but make sure it's food-safe (if you're making tableware) and compatible with your firing temperature range. Get at least 1 litre — you need enough depth in your container to fully submerge your piece. If you're mixing from powder, always do it outdoors and wear an FFP3 mask (99% filtration) — glaze powder is not something you want to breathe in. Available at pottery suppliers or online.
Around 10–30 €.
Some flat brushes
ESSENTIAL
For applying glaze you need brushes that can hold a generous amount of liquid — soft, full-bristled brushes are ideal for broad, even coverage. For detail work with paint-on glazes, a few round or flat soft-bristle brushes in smaller sizes round out your kit. Find them at any art supply or pottery store or online.
Around 5–15 € depending on size and quality.
an underglaze pencil
OPTIONAL
An underglaze pencil lets you draw directly onto bisque-fired clay with the precision of a pencil — perfect for fine lines, outlines, and decorative details. Pick one colour you love and start there; black or dark blue are brilliant for beginners and work beautifully under a transparent glaze. Trust us — once you try it, it becomes a permanent fixture in your kit. We use Amaco* and Ceradel*. Find them at pottery suppliers or online.
Around 15 €.
some plastic buckets (and a pitcher)
OPTIONAL
You'll need a couple of plastic buckets for glazing — one for dipping your pieces, one for storing leftover glaze. A 3–5 litre bucket works well for dipping smaller pieces; a 1–2 litre bucket is handy for storing mixed glaze. Straight-sided buckets are easier to dip into cleanly. Find them at any hardware store, supermarket, or online. Large yoghurt or ice cream containers work as well. You just need something with a tight-fitting lid. A plastic pitcher is handy for pouring glazes.
Around 3–6 € each.
Air-dry projects
Acrylic Paint
ESSENTIAL
Acrylic paint is the go-to for decorating air-dry clay — it adheres well, dries quickly, and comes in every colour imaginable. Get three to four colours you really like. Find it at any craft store or online.
Around 7 € for one. We love Amsterdam Standard Series* and Lukas Crylstudio*.
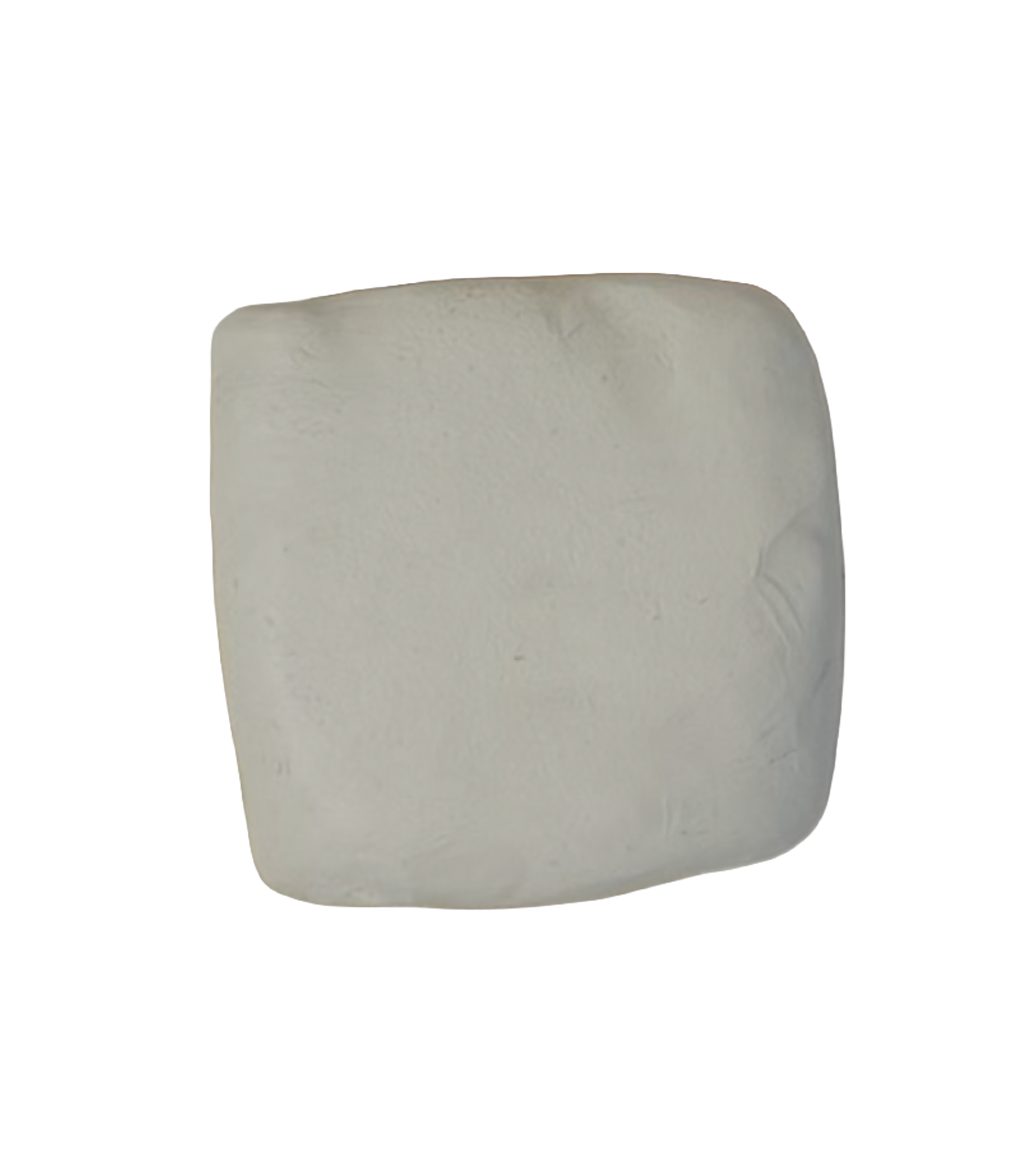
Gesso
OPTIONAL
A primer for your finished air-dry pieces. Applying a thin layer of gesso before painting seals the clay surface, prevents colour from soaking in unevenly, and gives you a smooth, bright base — your colours will look vibrant and true.
Any brand works; white is the standard. Find it at any craft store or on Amazon.
Around 5–8 €.
flat synthetic brushes
ESSENTIAL
For painting your air-dry pieces, synthetic flat brushes with short, fine bristles are the way to go — they glide smoothly across the clay surface and won't leave streaks behind. A small set in a few sizes covers everything from broad base coats to fine detail work. Find them at any craft or art supply store or online.
Around 5–10 € for a set.
Sealant
OPTIONAL
The finishing touch that protects your decorated piece and gives it a polished, lasting surface. We love an acrylic spray sealant — it dries quickly and gives a super glossy even, smooth finish. A brush-on acrylic varnish works just as well. Look for water-based, low-odour formulas and avoid anything toxic or epoxy-based — you’ll need a whole equipment to safely work with that in a home studio.
At any craft store or online.
Around 8–12 €.
the Tools we’ll make together:
Rice and Sand Bags
ESSENTIAL
A no-sew studio essential for drying your pieces without warping. Fill a circle of breathable fabric (canvas or linen) with uncooked rice or fine sand, tie it off with a ribbon — done. Place them on top of your pieces as they dry to apply gentle, even pressure. Rice is finer and moulds to pieces with relief or raised elements (like candle holders): Sand is heavier and better for really flat pieces.

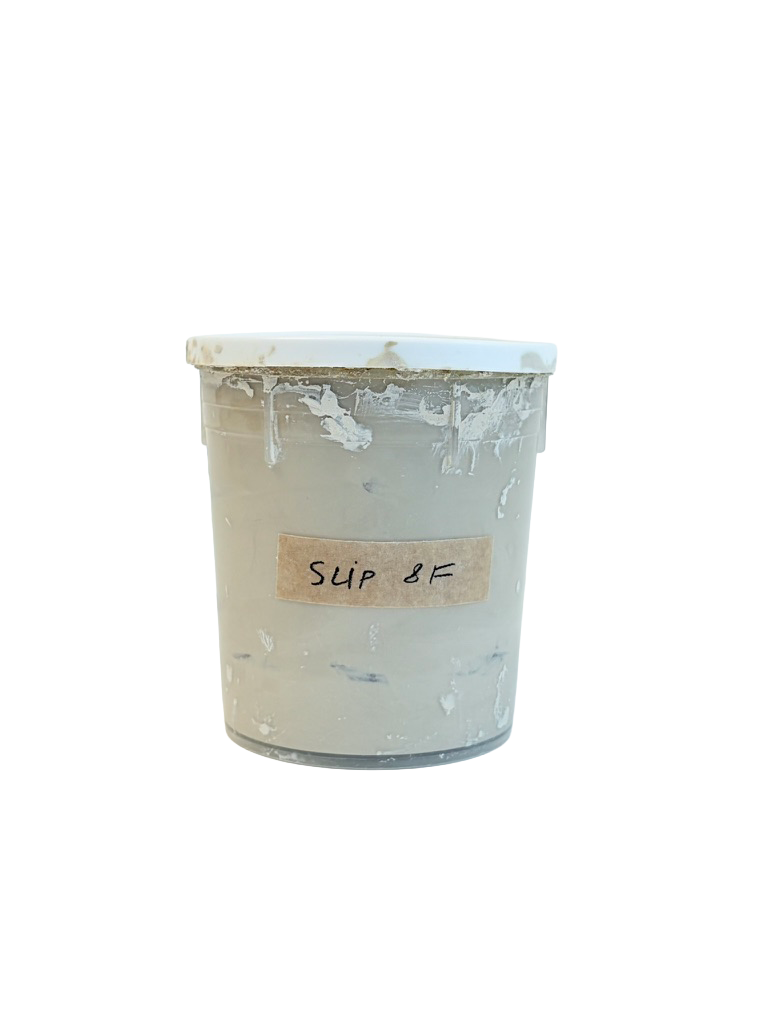
Slip
ESSENTIAL
Slip is liquid clay — your essential joining agent for slab building. You make it yourself by mixing small dried scraps of your clay with water until you get a smooth, yoghurt-like consistency. Store it in a sealed plastic container or an old jam jar. If you add a tablespoon of vinegar it’ll keep for weeks.
Cornmeal Puff
OPTIONAL
A little fabric puff filled with cornmeal: Tie a small round piece of breathable fabric (like muslin or linen) around a handful of cornmeal with a ribbon. Dab it lightly over your work surface or clay slab to prevent sticking. A classic potter's trick!